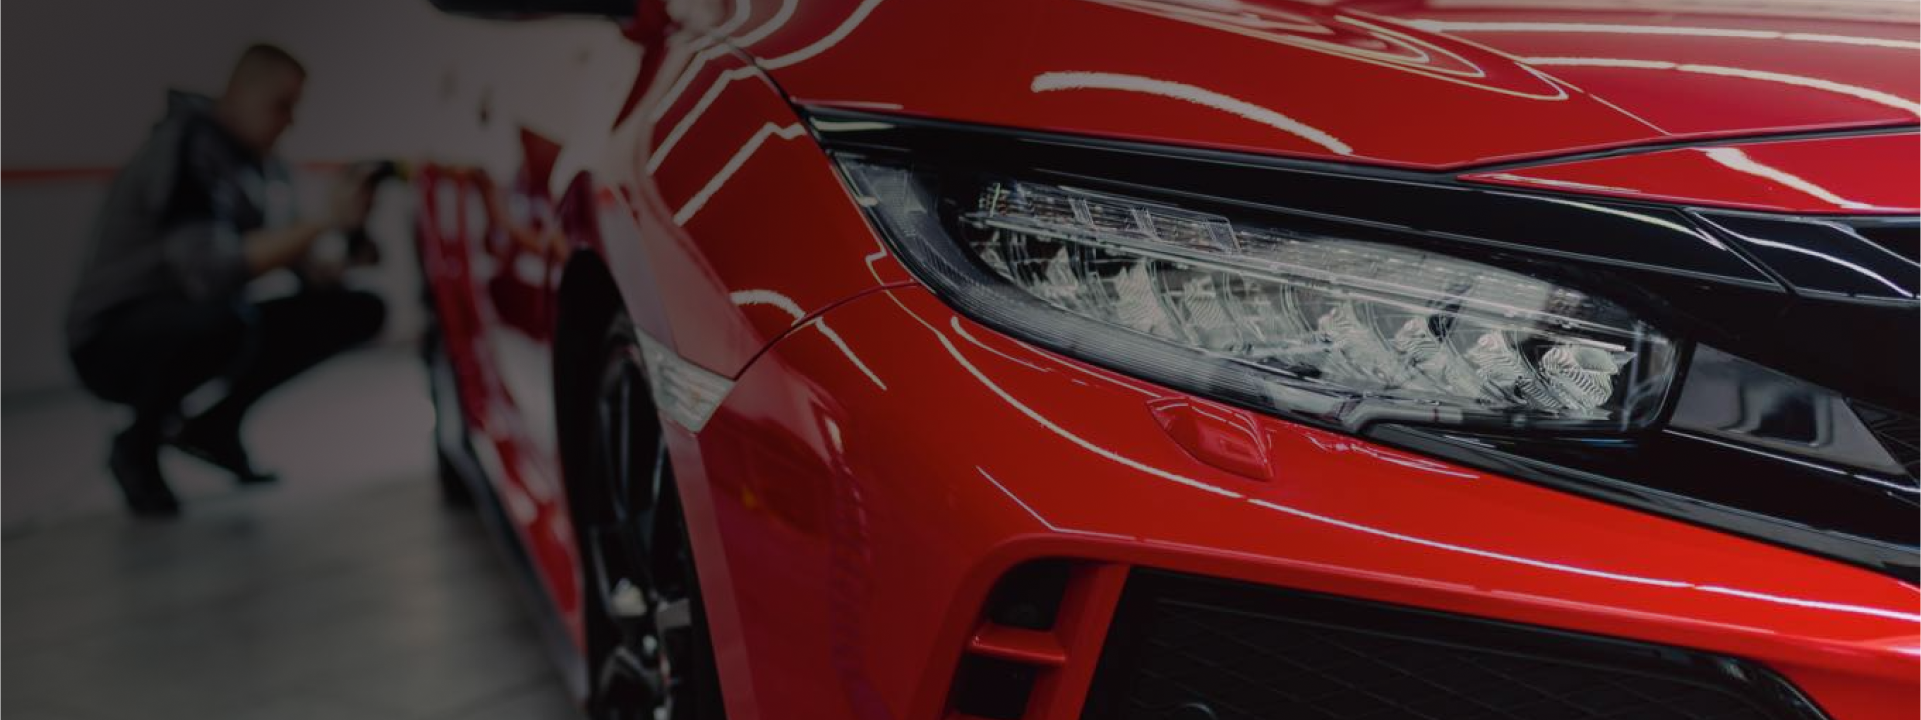
10 Detailing Tips to Prepare for Winter Car Storage
For classic car and sports car owners, storing a vehicle for the winter is a great way to avoid damage from road salt, snow, freezing temperatures, and slippery roads. However, the condition of that vehicle when it goes into storage is crucial to how it will hold up during these long winter months. Properly preparing a car for winter storage will keep it in top condition and ensure that it is ready to drive come spring.
Table of Contents
- Wheels & Tires
- Engine
- Pre-Wash
- Wash
- Paint Decontamination
- Paint Correction
- Paint Protection
- Trim & Cladding
- Interior Leather
- Interior Fabric
- Bonus
- Key Takeaways
1. Clean and Protect Wheels & Tires
First, use either a cleaner and degreaser or a wheel and tire cleaner to remove brake dust, grease, and iron deposits from wheels and tires. No matter the chemical you use to clean your wheels and tires, never clean them while they are hot to the touch. Cleaning hot wheels is a bad idea and can lead to irreversible damage to the rims and tire rubber.
Our favorite quality cleaner and degreaser is Prizm Gold Citrus Degreaser for its aluminum-safe, biodegradable formula. It penetrates and dissolves soils, in addition to powering away dirt, grease, grime, silicone, and wax.
For a powerful alternative to hydrofluoric acid cleaners, we like Fast Shot Non-Acid Wheel Cleaner. This formula won’t clump or clog in cold temperatures. For a ready-to-use cleaner, we recommend Complete™️ Non-Acid Formula Wheel & Tire Cleaner. This special formula is safe for virtually all wheel types and requires no dilution. This powerful cleaner should be used with caution and only according to directions. Proper ventilation, working area, and personal protective equipment are recommended. Please, reference label instructions for complete safety information and safe-handling instructions.
Protect tire rubber by applying a tire dressing. Dressing prevents the tire surface from hardening, cracking, and fading. Tire dressings are generally either solvent-based or water-based. The tire dressing that will be best for you will depend on your unique needs.
Blue Blazes®️ VOC Compliant All-Purpose Dressing is a solvent-based dressing with a quick-drying formula to reduce tire sling. E-Zee Shine™️ Premium Emulsion Dressing is a water-based dressing that is safe for a variety of surfaces. For more information on which type of dressing is best for you, see Choosing the Best Tire Dressing for Your Application.
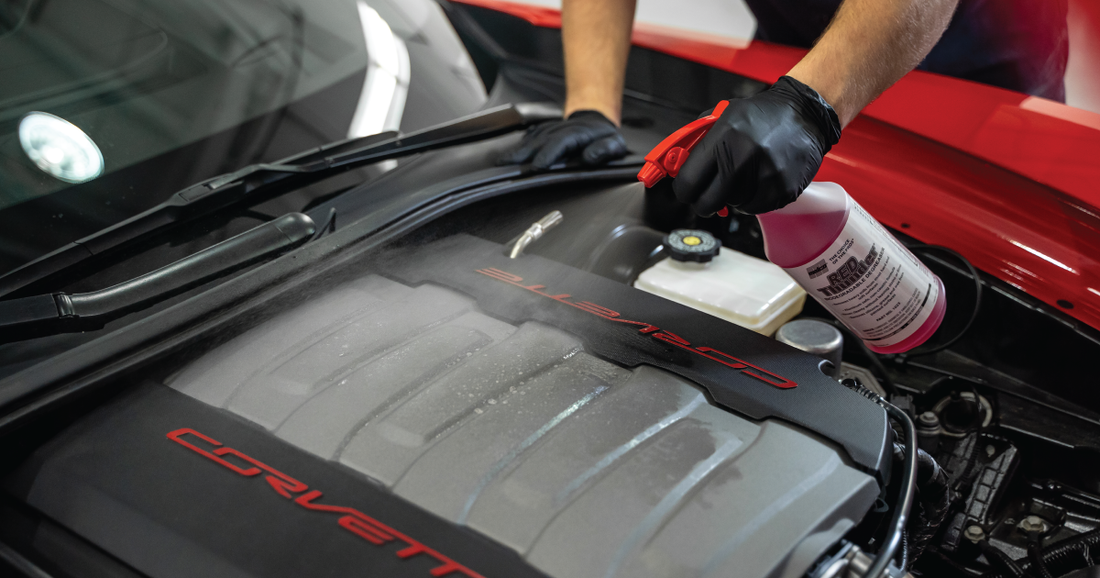
2. Clean and Protect Engine
Cleaning a car’s engine prevents dirt, oil, grease, and grime buildup that can lead to corrosion and even failure. Before cleaning the engine, make sure it is completely cool. Cleaning when the engine is still hot can lead to damage and injury. Additionally, remove any dirt, dust, and debris with either a blower or vacuum.
We like Red Thunder®️ Biodegradable Degreaser for cleaning engine compartments, as it is non-caustic and rinses clean, without leaving behind residue. This highly concentrated degreaser can be diluted up to 1:10. For a pre-diluted, ready-to-use version of this formula, try Little Red Thunder®️ RTU Biodegradable Cleaner. No dilution is necessary. Simply, spray it onto engine bay surfaces for quick, effective cleaning.
To protect your engine, after cleaning, use an automotive dressing. Aqua Bead™️ Advanced Silicone-Suspension Dressing is a water-based formula that can be applied to wet surfaces to save time.
3. Pre-Wash Painted Surfaces
Pre-wash painted surfaces with specialty chemicals to remove road film, tar, oil, environmental contaminants, and dead bugs. Skipping this step can lead to this contamination being worked into the vehicle paint deeper or even scratching. Bug-Off™ Insect Remover is excellent for squashed bug removal. To remove stubborn iron contaminants, use Iron Blaster Fallout Remover.
4. Wash Painted Surfaces
Next, wash away any remaining dirt, soil, and chemicals with a high-quality car wash. Allowing harsh chemicals to sit on car paint can lead to irreversible and expensive damage.
For a high-foaming car wash that penetrates to clean away soils easily, choose Prizm™️ Car Wash. For a phosphate-free, biodegradable car wash that is formulated to prevent brush and swirl marks, choose CW-37™️ Premium Car & Truck Wash Concentrate.
Without following proper wash techniques and using the appropriate tools for the job, it is actually possible to cause damage to your paint. Swirl marks, scratching, and marring are just some of the consequences of ignoring proper technique and tool use. For more on proper wash techniques and how to avoid eyesores like swirl marks, see here.
5. Decontaminate Painted Surfaces
Once the vehicle is pre-washed and washed, it can be determined if any more decontamination steps are necessary. At this point, inspect and feel the car surface to determine if any contaminants have bonded to the paint. If so, claying will be the next step. If not, skip to paint correction.
Clay bars and synthetic clays are key in the removal of bonded contamination. If using a traditional clay bar is not ideal, clay wash mitts are an excellent alternative. They use clay polymer technology to remove contaminants to the same degree as traditional clay bars. However, they generally last much longer than a clay bar and can be rinsed off if dropped.
When using any form of clay on your car paint, be sure to use a clay lubricant. Lubricants ensure the clay can move smoothly across the surface without getting stuck or leaving behind any residue. CW-37 Premium Car & Truck Wash Concentrate makes for an excellent clay lubricant.
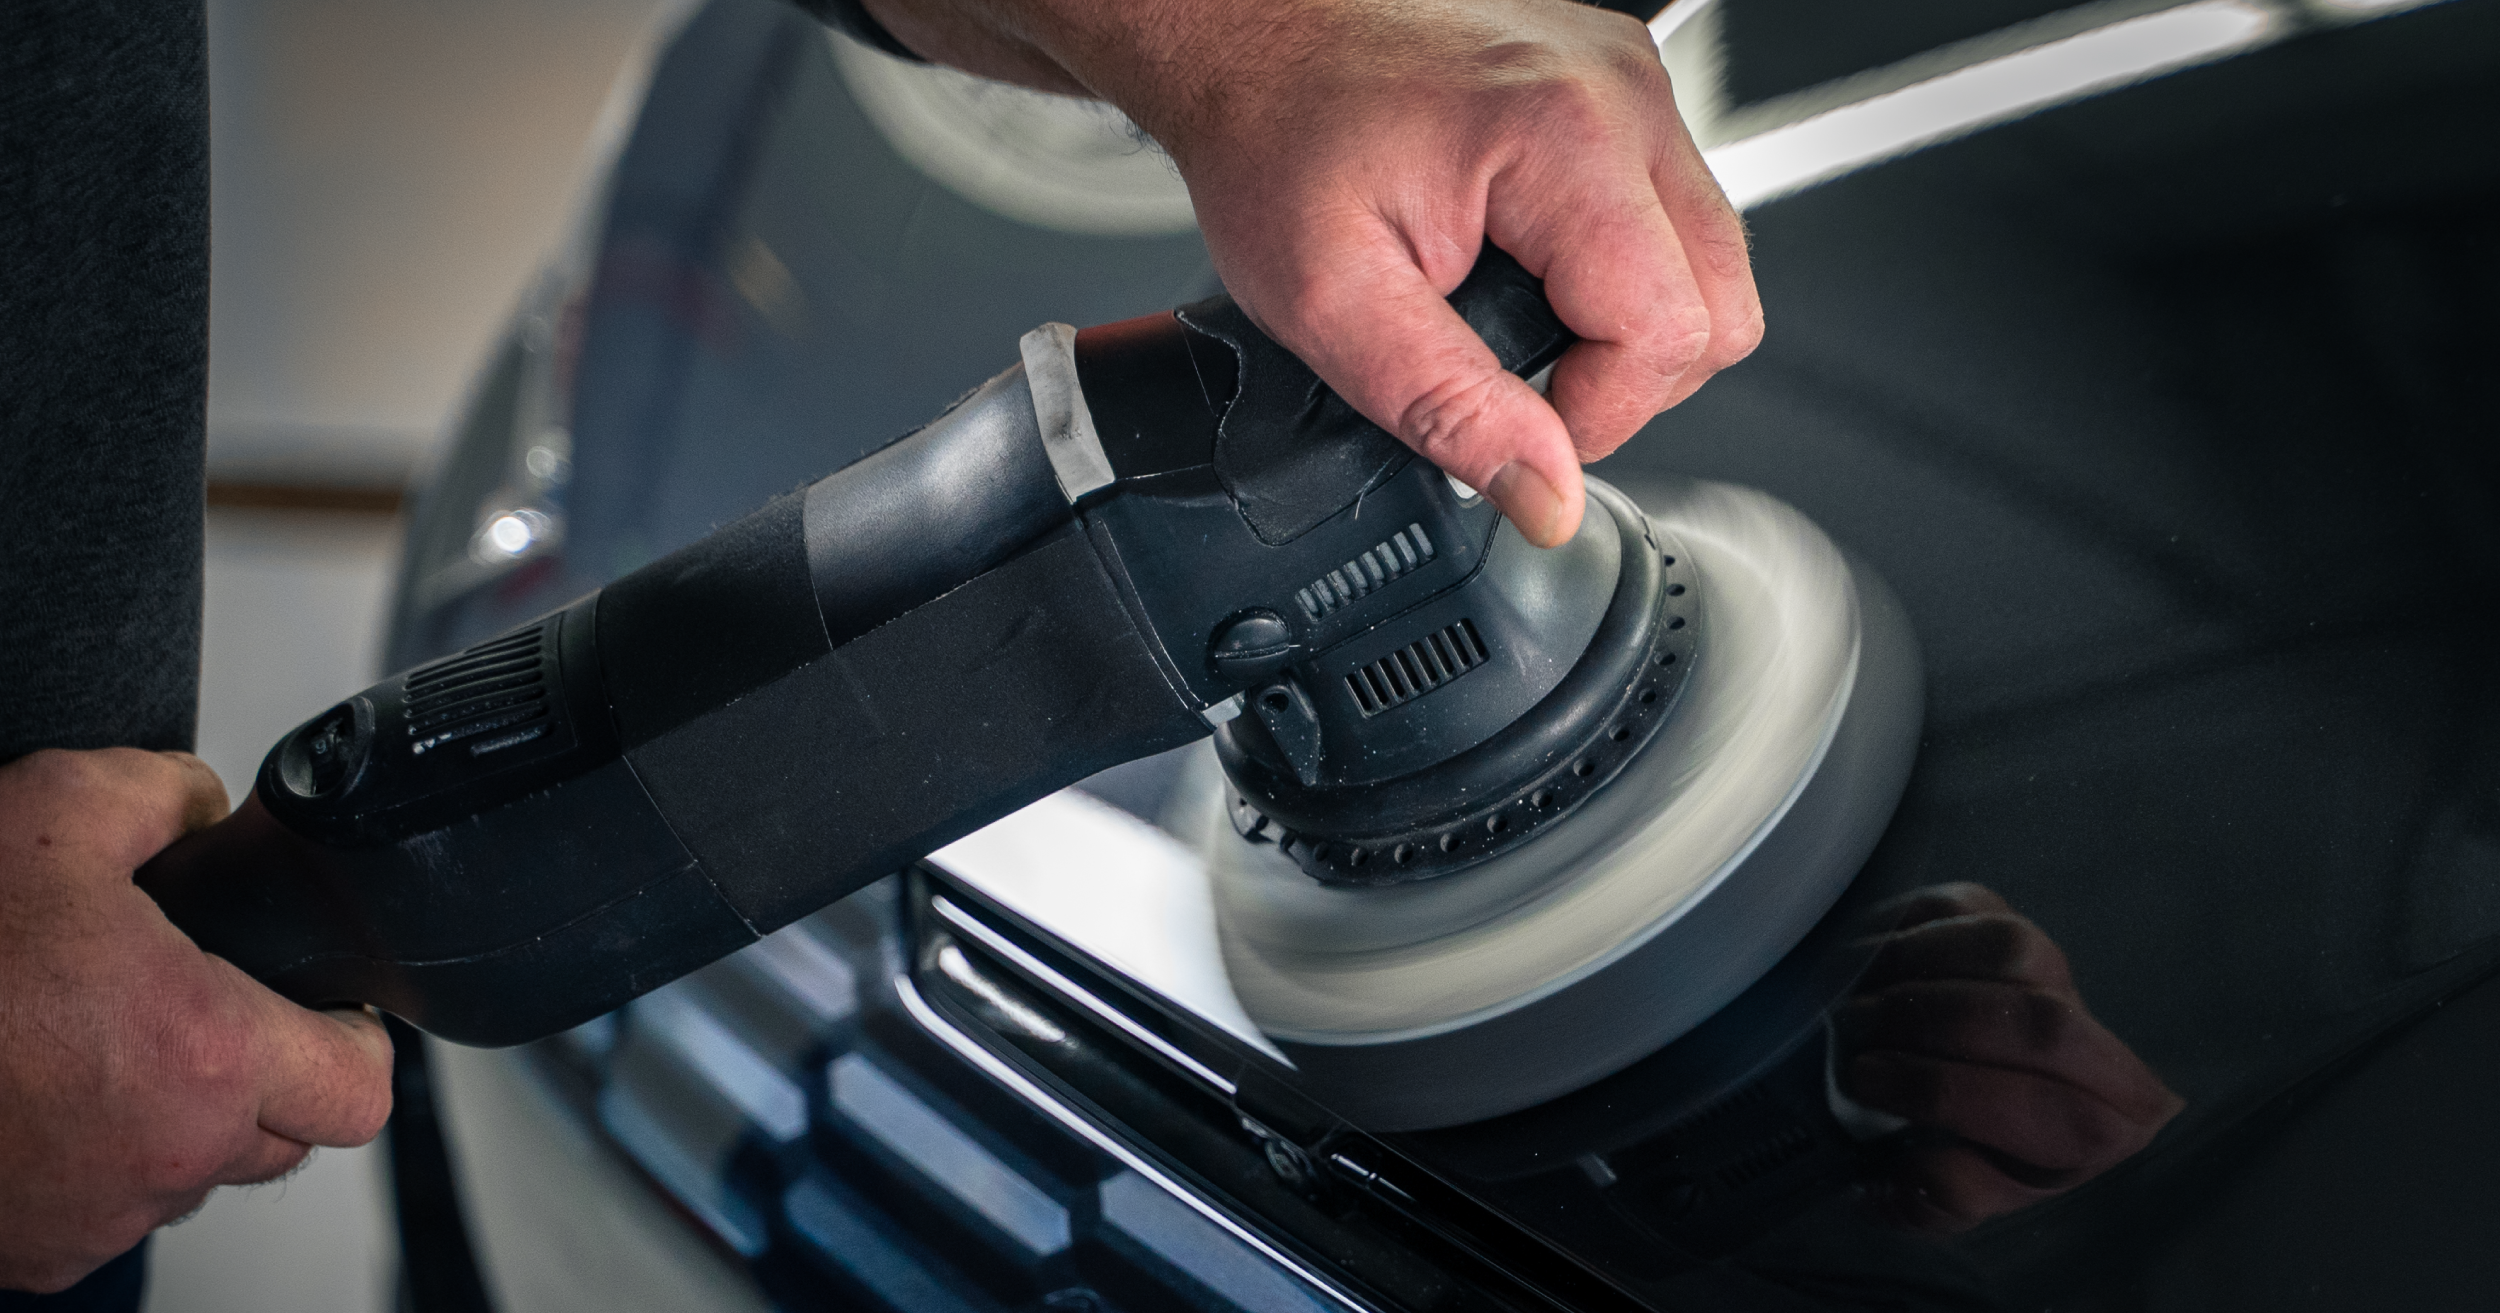
6. Correct Paint Defects and Surface Imperfections
Now that all contamination is removed from painted surfaces, buff away defects and imperfections. Buffing car paint removes small scratches, etching, and oxidation that cannot be washed away. This enhances the shine of the finish and prepares the surface for a layer of protection.
For medium correction, use a buffing compound like EPIC®️ Medium Duty Compound. This compound removes swirl marks, brush scratches, and oxidation. For milder correction, use a filler-free polish, like EPIC®️ Finishing Polish. Always use the appropriate products and methods for your paint correction needs.
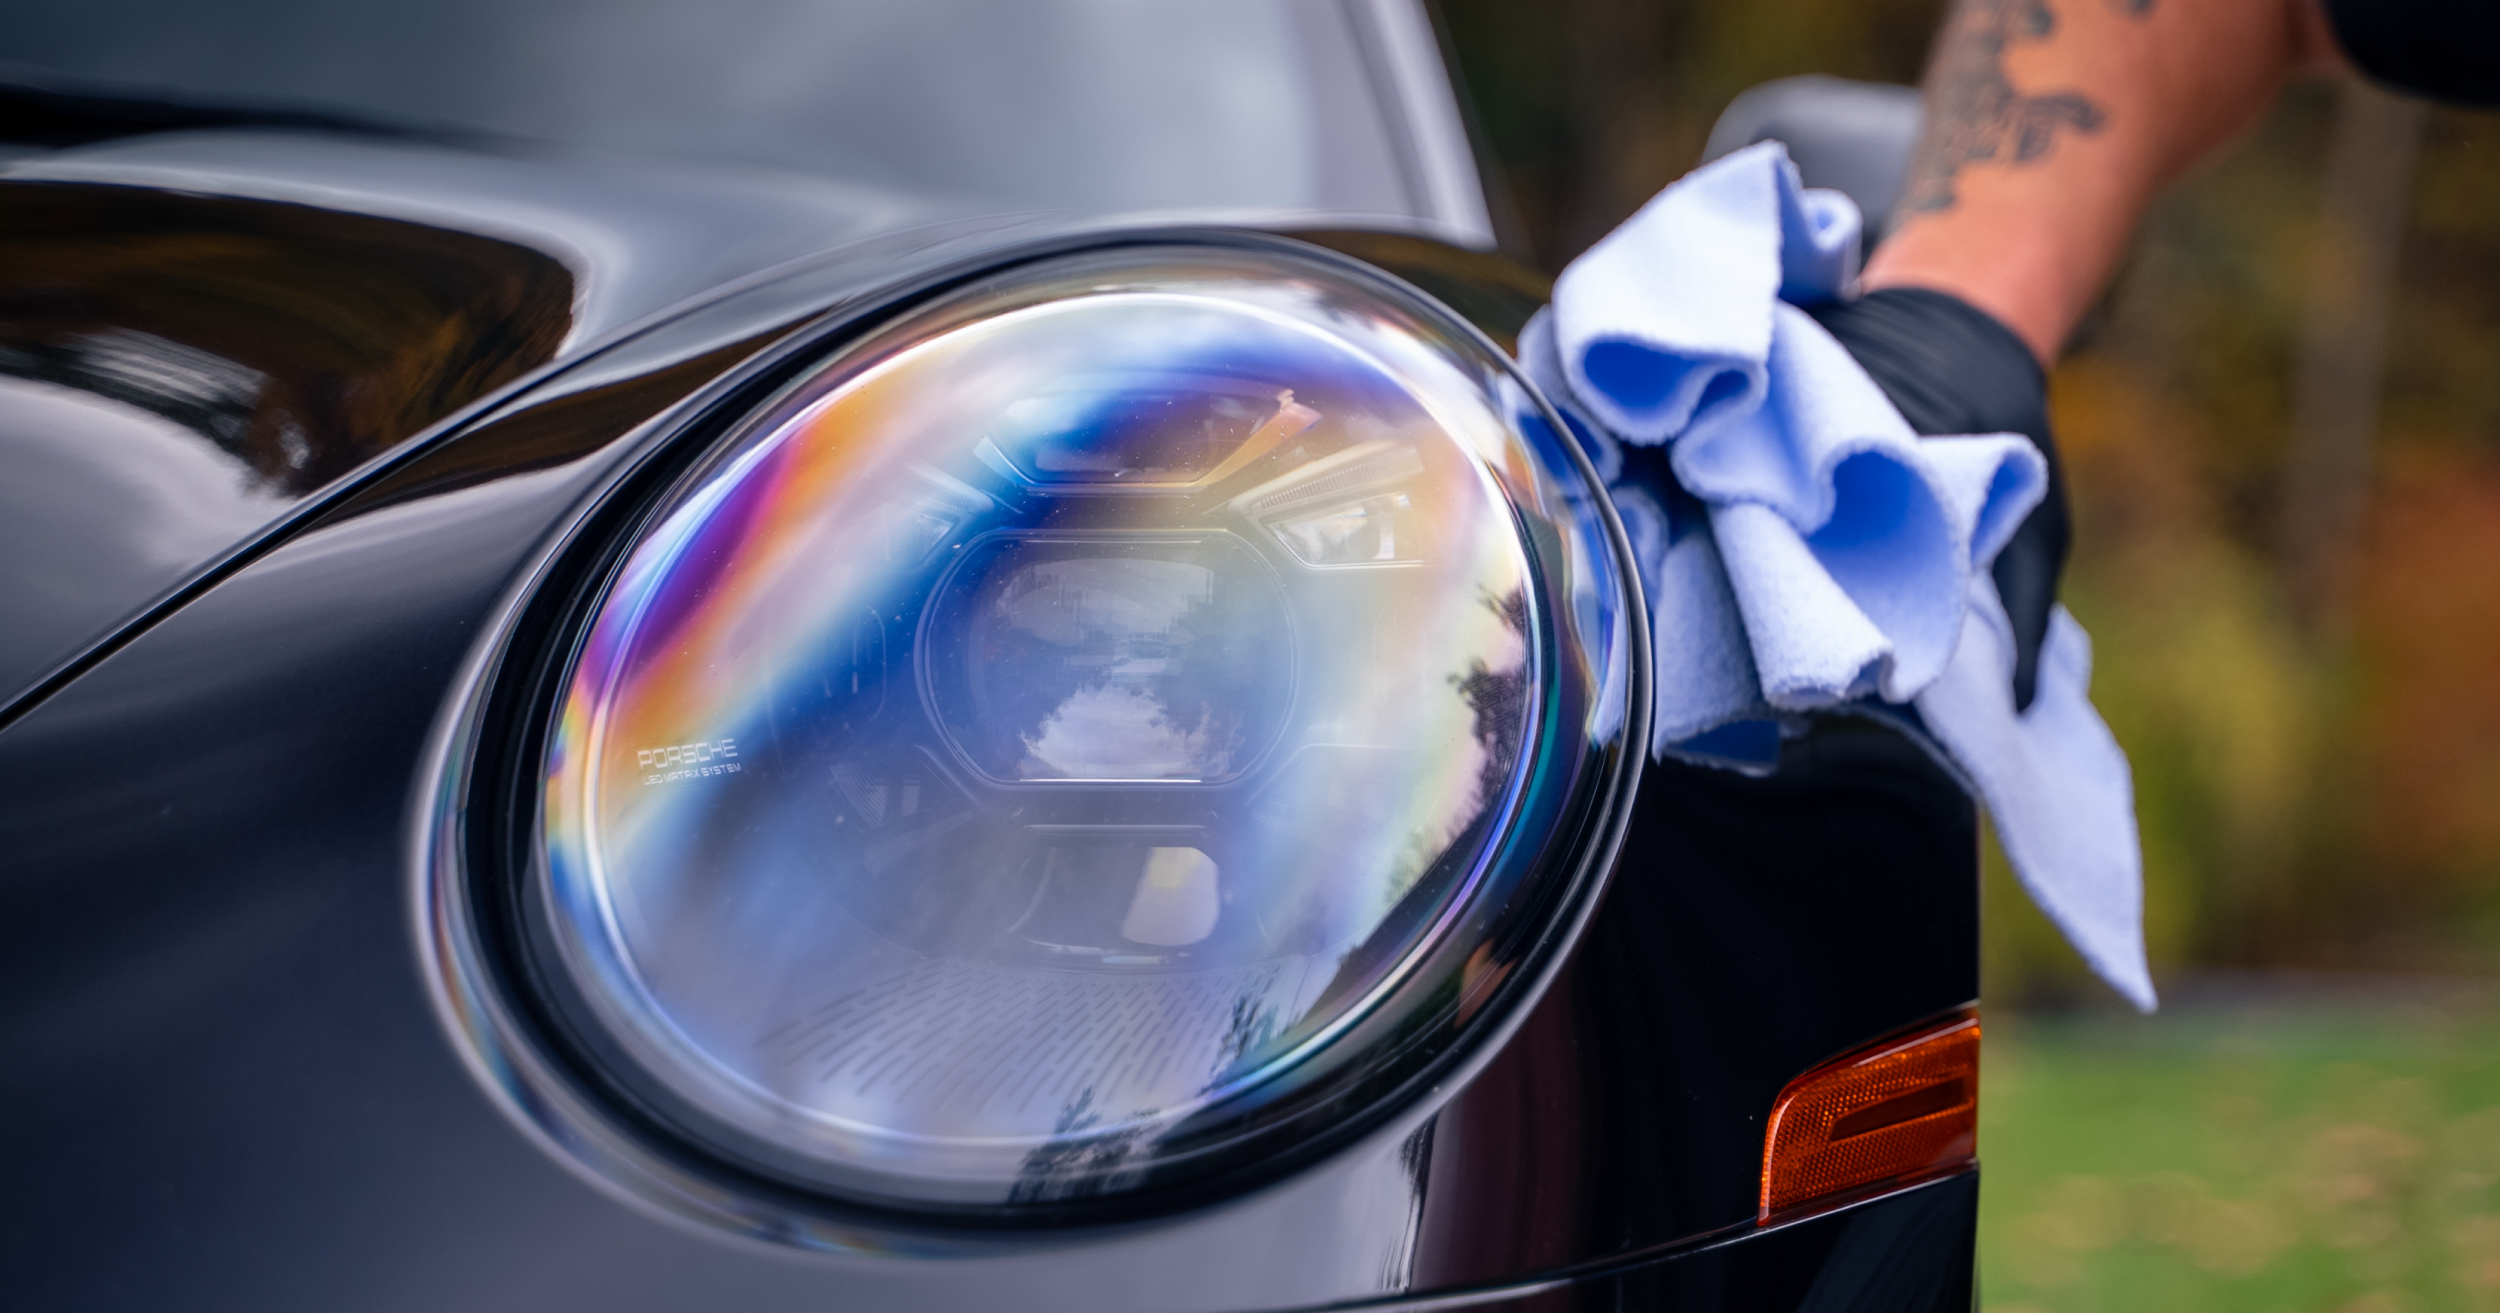
7. Add Paint Protection
Applying a wax or coating to painted surfaces adds a layer of protection from corrosive contamination, like road salt and bird droppings. Keeping these contaminants from penetrating the vehicle's clear coat extends the life of the paint and maintains its appearance.
For an easy-to-apply wax that provides superior surface protection, use a liquid or creme wax, like Nano Care® Banana Crème Wax. This unique blend of resins and silicones delivers a rich, deep gloss and is the fastest and easiest way to add long-lasting protection to automotive finishes.
For a quick, easy way to add ceramic protection to your car paint, try a spray ceramic, like EPIC®️ CR2 Hydro Protect. This long-lasting protective spray can be used as a ceramic coating booster or as a stand-alone ceramic spray. It adds gloss and protection, bonding with the vehicle surface to sheet off water and resist harmful contamination.
For more on paint protection options and methods of application, see our blog.
8. Protect Trim and Cladding
Protecting your vehicle’s trim and cladding from harmful UV rays and other environmental damage can prevent the color from fading. Protective dressings can be applied to enhance and protect the finish of these surfaces.
EPIC® Revive Nu Trim & Cladding Restorer provides a long-lasting, satin finish and works on most OEM and ABS types of molding, trim, cladding, and other automotive plastic. Rather than depositing a black paint or dye, like other trim restoration solutions, this trim restorer penetrates the material's surface, renewing the overall appearance.
9. Clean and Protect Interior Leather, Plastic, and Vinyl Surfaces
Clean and protect the leather, plastic, and vinyl surfaces of your vehicle to maintain their condition while in storage. First, clean all the dust, dirt, and debris away from these surfaces. Use an appropriate cleaner for each surface. Always test these cleaners in an inconspicuous area and follow all label instructions in your application process to avoid damaging your surfaces.
Once these surfaces are clean, add a layer of protection to prevent scratching, flaking, and wrinkling. If you have leather surfaces, knowing the age of the leather can help you choose the best form of protection. For more on leather care, see here.
10. Clean Interior Carpet and Upholstery
Clean your interior fabric surfaces to loosen and remove any soils and to release and remove any trapped odors. These surfaces include your car seats, carpets, and floor mats.
Knowing the mess you have at hand and how is best to treat it are the keys to removing a stain and cleaning carpet and upholstery. The same is true for effectively treating and removing odors. For more on choosing the best carpet and upholstery cleaner and odor remover solutions for you, see our blog.
Bonus Winter Car Storage Tips
- For vinyl convertible tops, we recommend cleaning with a degreaser and protecting with a spray wax, like Nano Care® Spray Wax before storing for a long period of time.
- Using a car cover is a great way to protect your vehicle surfaces from creeping critters and collecting dust and moisture, even if stored in a completely covered environment.
- Another helpful step is placing a tarp under your car. Moisture can rise through dirt and concrete floors, wreaking havoc on steel parts.
- Before putting your car into long-term storage, you should always fill the gas tank to reduce moisture buildup inside the tank or fuel lines that could cause fuel-system corrosion. Be sure to use a fuel stabilizer to maintain the condition of the fuel during storage.
- To prevent rust, mold, mildew, musty odors, stains, and spotting you can place desiccant or silica bags in your interior to absorb any excess moisture. Likewise, you can use dryer sheets to keep odors at bay, during this time of storage.
- To protect your exhaust pipe from gathering moisture and pests, place a plastic bag over the opening and seal it with duct tape.
- You should also get an oil change before winter car storage. Used engine oil should never be allowed to sit in an engine for an extended period of time.
- Another important step would be to remove your car battery before putting your car away in storage for the winter. Without use, the battery could freeze. Keep it in a warm place to prevent freezing and to make it easier to start up again once out of storage.
- Because storing a vehicle increases the risk of freezing during winter, it is also vital to top off your coolant or antifreeze beforehand.
- Use chocks to prevent accidental movement of your vehicle, while it is in storage. Use them with your brakes and alternative or parking brake to avoid any potential rolling.
Key Takeaways: Prepare Your Car Surfaces for Winter Storage to Keep Your Car in Top Shape
Storing a vehicle for the winter is a great way to avoid damage from environmental contamination. The vehicle's condition and how it holds up during winter storage depends heavily on how it is prepared beforehand. To ensure your car comes out of storage in the same condition it goes in, follow these detailing tips for cleaning and protecting your interior and exterior surfaces.