

The Best Methods and Products to Detail and Clean Dirty Seatbelts: Remove Stubborn Stains with Ease
Discover the key to next-level DIY interior car care through clean seatbelts. Often overlooked, seatbelts play a vital role in automotive safety and aesthetics. Employ proper auto detailing methods and cleaners to keep your seatbelts spotless and contribute to an overall refreshed and inviting interior. Say goodbye to stains and grime, and provide your passengers with a cleaner riding experience with this step-by-step seatbelt interior detailing guide.
Table of Contents
- Stain Removal
- General Cleaning
- Deodorization
- More Tips
- Key Takeaways
Steps for Spot Cleaning and Treating Difficult Stains
- Before You Begin: Before you start, review your vehicle's manual for any specific recommendations or warnings related to cleaning the seatbelts. Following manufacturer guidelines ensures you won't void any warranties or damage the seatbelt material. Also, gather your cleaning equipment: a few clean microfiber cloths, a vacuum with attachments, and a carpet and upholstery scrub brush. Having all supplies ready to go will streamline the cleaning process. Lastly, ensure proper ventilation by opening the car doors or windows. This will help disperse any fumes from the cleaner and will speed up the drying process.
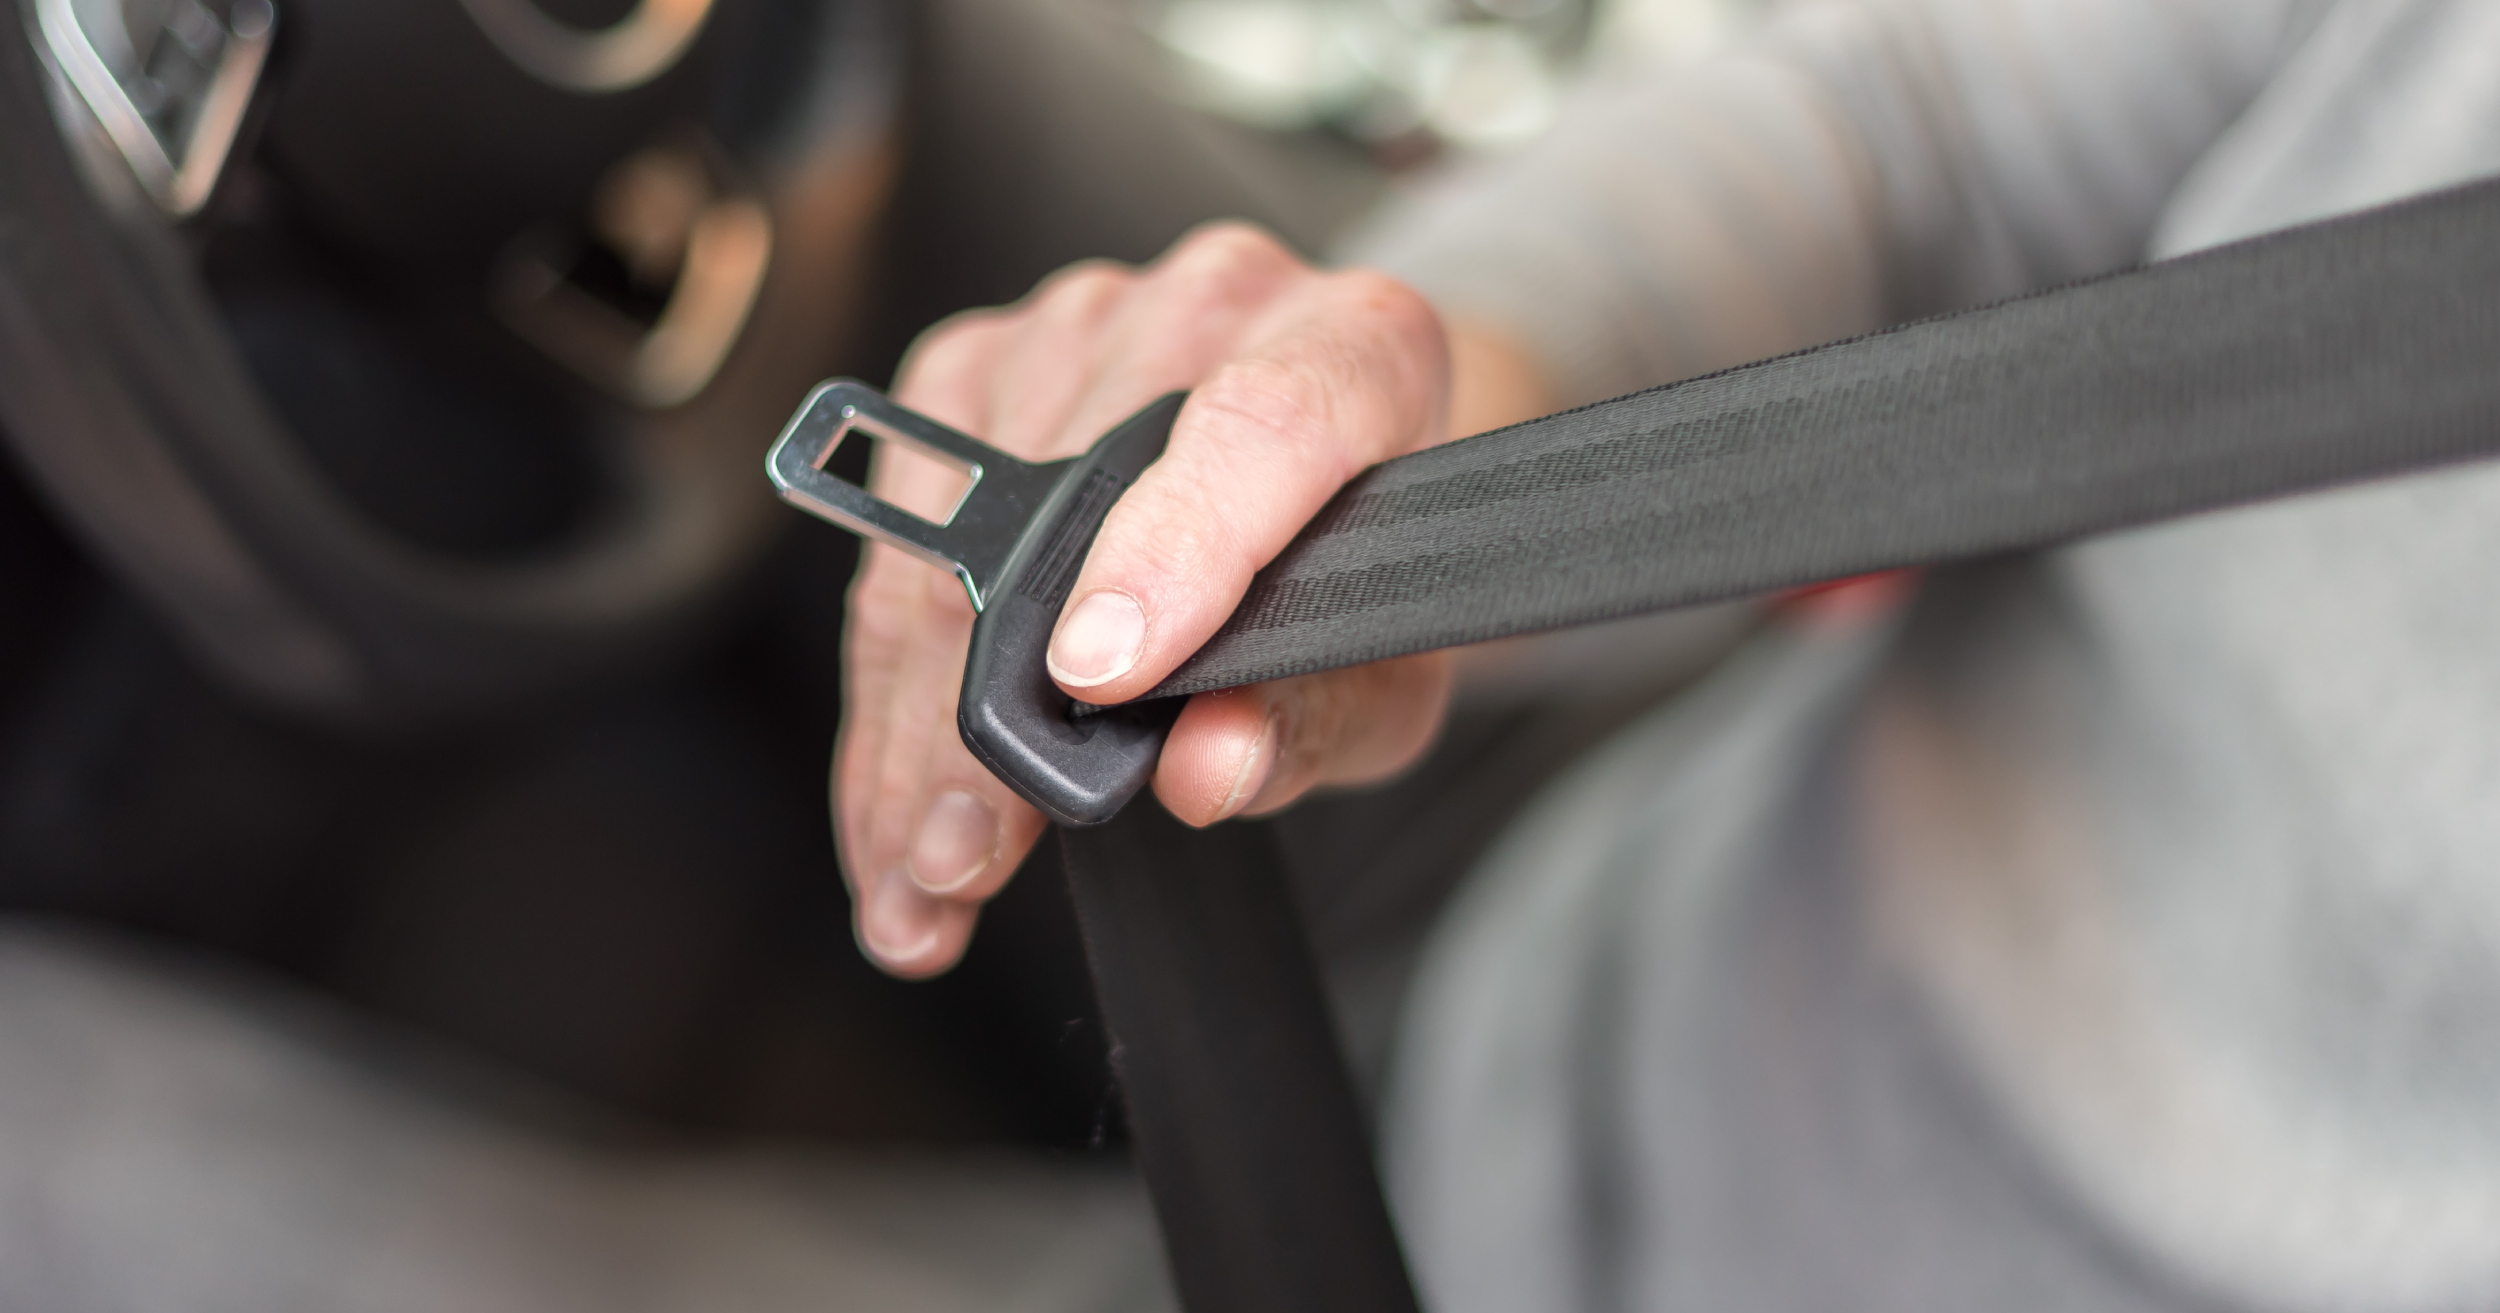
- Prep the Seatbelts: To prepare your seatbelts for spot or deep cleaning, pull the seatbelt from the retractor to expose as much of the belt material as you can. Clamps can be used to hold the belt down to full extension. Use a soft brush attachment on your vacuum cleaner to gently remove loose dirt, dust, and debris from the seatbelts. This prevents abrasive particles from causing damage during the cleaning process.
- Choose a Spot Cleaner: Several factors should be considered in selecting a spot cleaner for your car seatbelts to ensure effective and safe cleaning. Ensure that the cleaner is suitable for use on car interiors. Check the material of your seatbelts. Different cleaners are compatible with different materials (nylon, polyester, etc.). Identify the sources of the stains on your seatbelts. Spot cleaners are designed to target specific soils like those from grease, dye, or organic matter. Choose a cleaner that is made to remove those particular stain types.
- Test the Cleaner for Compatibility: Test your spot cleaner on a small, inconspicuous part of the soiled material to gauge colorfastness and ensure compatibility. If the test area changes color or texture, discontinue use immediately. This is an indication that the cleaner is not suitable for that particular material and could cause damage.
- Treat any Stains: When using any chemical cleaning product, always follow the application and safety instructions on the product label to ensure desired results and avoid any potential damage to your seatbelts and other car interior surfaces. Apply the spot cleaner (as directed) to the stained areas on the seatbelts. If necessary, use a clean, dry microfiber towel to gently work the cleaner into the fabric. For stubborn stains, agitation with a brush may be required. If you must use a brush, be mindful of the pressure you are applying to avoid damaging the material.
- Blot and Dry: After applying the cleaner, use a separate clean microfiber cloth to blot up and remove excess moisture, along with the lifted dirt and stains. Allow the seatbelts to air dry completely before retracting them or using the vehicle. Avoid closing the doors until the seatbelts are thoroughly dry (possibly overnight).
Steps for General Cleaning
- Before You Begin: As with spot cleaning, a few steps should be taken before you prep and clean car seat belts. Take a moment to read through your vehicle's manual for any seatbelt-related recommendations or cautions. Then, gather all your cleaning equipment. Finally, open car doors or windows, to disperse cleaner fumes and quicken drying.
- Prep the Seatbelts: The same preparatory steps involved in spot cleaning also apply to general cleaning. Pull the seatbelt from the retractor to expose as much of the belt material as you can for cleaning. You can use clamps to hold the belt down to full extension. Use your vacuum cleaner to remove loose dirt, dust, and debris.
- Choose an Upholstery Cleaner: Choosing an all-purpose cleaner for your car seatbelts requires the same careful consideration as choosing a spot cleaner, to ensure both effective and safe cleaning. Make sure to choose a cleaner that is made for automotive fabrics. Household cleaners, like dish soap or other household fabric cleaners, may not be formulated for the delicate fabrics of your vehicle. Consider the material of your seatbelts to ensure the cleaner you choose is compatible and will not cause damage. Opt for carpet and upholstery cleaner that is designed for use on automotive fabric. Using a household cleaner could end in lackluster results and even harm to the material.
- Test the Cleaner for Compatibility: Again, it is important to perform a preliminary test of the cleaner on the seatbelt material. Apply the cleaner to a small, inconspicuous section of one of your seatbelts to assess colorfastness and confirm compatibility.
- Apply the Cleaner: As always, it is crucial to adhere to the application and safety instructions provided on the product label of your chosen cleaner. Begin by dampening the targeted area with warm water. Apply the cleaner (as directed) to the belt surface and use a clean microfiber cloth to work it in. For further agitation, use your carpet and upholstery brush. For general cleaning of all automotive carpeted and upholstered surfaces (including headliners), we like Xtrax™️ Carpet & Upholstery Cleaner. This powerful, foaming formula not only smells great, but it effectively lifts soils without leaving behind any residue.
- Blot and Dry: When you’ve finished applying your cleaner, use a separate microfiber cloth to blot up what remains. Squeeze the belt, while pulling the rag from one end to the other, to remove any cleaner, dirt, and moisture. Repeat this step until the seatbelt no longer drips when squeezed. Keep the belt extended from the retractor overnight to finish drying.
Steps for Removing Odors
How do you get the body odor out of seatbelts?
- Before You Begin: As with spot and general cleaning, review your vehicle manual, gather all necessary supplies, and ensure proper ventilation of your work area before starting to deodorize your seatbelts.
- Prep the Seatbelts: Before deodorization, remove any stains and general soils from your seatbelts through spot and general cleaning. If odors persist, select a deodorizing solution that suits your needs.
- Choose a Deodorizer: Some carpet and upholstery cleaners possess deodorization and odor-eliminating properties, so you can clean and deodorize in one step. If that is not the case or odors are still noticeable after cleaning, you will want to select a deodorizing solution to use in addition to your cleaner. The nature and intensity of the odors will dictate which solution will work best. For the most relentless odors, use an odor-eliminating liquid solution that can be worked into the material of the seatbelts. Less intense unpleasant smells can be neutralized with odor-eliminating aerosol sprays that can be released into the air to freshen your vehicle cabin.
- Test the Solution for Compatibility: Before applying liquid deodorizer to your seatbelts, perform a test in a small, inconspicuous area to ensure compatibility.
- Apply the Deodorizer: After treating your seatbelts for stains and general soils, you are ready to deodorize. If you are using a liquid deodorizer, apply it to the seatbelts as directed by product label instructions. If the odor is persistent, use your carpet and upholstery brush to gently agitate and work in the solution. Be mindful of the pressure you apply with the brush to avoid harm to the material. If using an aerosol spray, press down on the trigger to release the solution into the air of the cabin.
- Blot and Dry: Allow a sufficient amount of time for your deodorizing solutions to dry and disperse before entering the vehicle. After applying liquid deodorizer, use a clean microfiber cloth to blot up or wipe away any excess solution. Avoid retracting your seatbelts until they are completely dry.
- Repeat if Necessary: If odors persist, allow all fabric to dry completely before repeating the cleaning and deodorization processes. Some stubborn odors may require multiple treatments.
Additional Tips for Seatbelt Cleaning
- Regularly clean and detail your seatbelts and other fabric surfaces. More frequent interior car detailing, cleaning, and maintenance can help you avoid the development of stubborn stains and foul odors.
- Choose a residue-free cleaner. It is important to choose a cleaner that leaves little to no residue behind, after cleaning. Residual cleaners can irritate the skin of passengers and can be a magnet for accumulating dirt and dust.
- Use odor absorbers. Place odor absorbers, such as activated charcoal bags or baking soda, near sources of foul smells to help absorb lingering odors. Leave them in the car for a few hours or overnight.
Key Takeaways: Clean Seatbelts Are Only a Few Steps Away
Clean seatbelts make for a more enjoyable riding experience for passengers. The key to removing stains, soils, and odors from car seatbelts lies in your ability to evaluate the best cleaning solutions and chemicals to address each. Making these determinations on a case-by-case basis, and following the steps outlined above, will lead to the most effective and efficient seatbelt cleaning results.