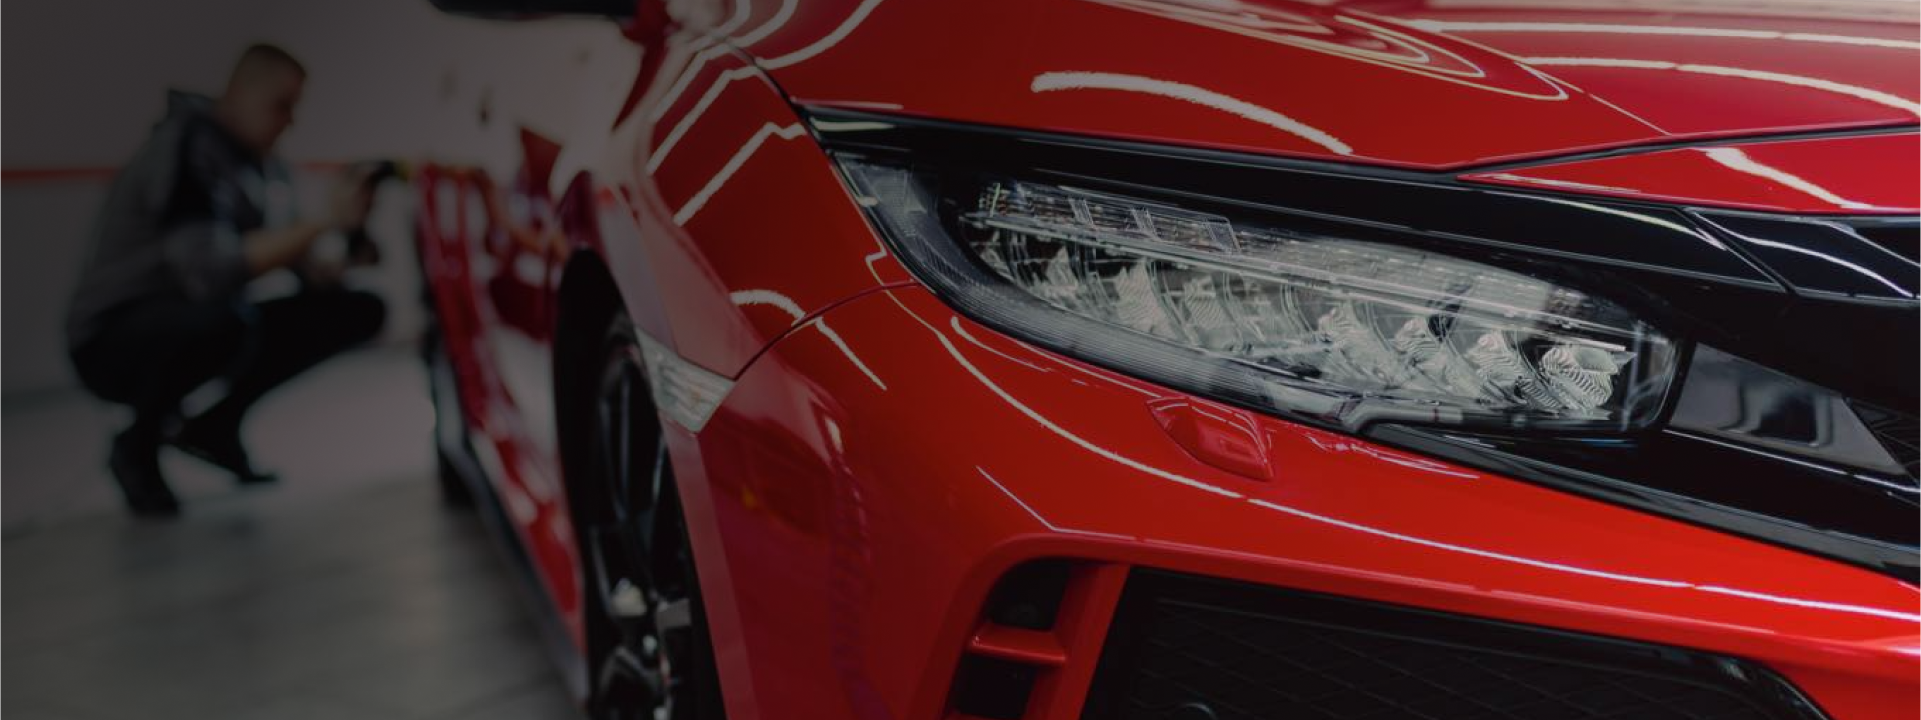
How to Avoid Adding Swirl Marks to Your Car Paint with Proper Car Washing Techniques
Before we begin, remember that anything mildly abrasive will add micro-scratches and swirl marks to your car paint. Avoid using coarse or abrasive drying towels. Household towels, for instance, are much too rough. Likewise, it is important to only use clean towels, pads, and wash mitts, as dirt and dust from previous uses can easily abrade the vehicle surface.
Table of Contents
- Avoiding Swirl Marks
- Removing Swirl Marks
- Key Takeaways
Car Owner Wash Supply Checklist
- A pre-wash, like Red Thunder® Biodegradable Degreaser
- Two buckets – one for car wash and one for rinsing
- A quality car wash or wash-and-wax
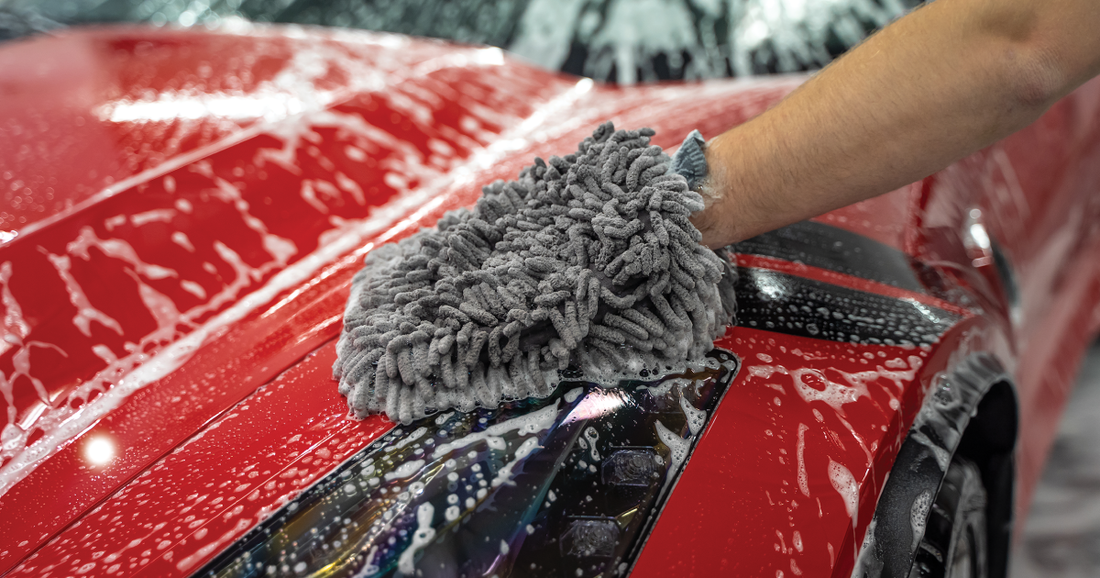
- A wash mitt
- A high-quality chamois for drying
- A spray car wax, like Showroom Shine™ Spray Wax
- Clean microfiber towels
Proper Step-by-Step Wash Process for Avoiding Swirl Marks
Before You Start
Thoroughly rinse and inspect your buckets and wash mitt to ensure they are free of all dirt and debris. Next, fill your wash buckets – one with clean water for rinsing and one with your soap mixture. Be sure to follow the dilution instructions on all product labels. Wash-and-waxes typically require more product per use, while concentrated car washes usually require very little.
Move the vehicle out of direct sunlight, and make sure the surface is cool to the touch. Next, thoroughly rinse the entire vehicle surface to eliminate as many swirl culprits as possible, like loose dirt and soil, before washing. Then, pre-treat any heavily soiled areas (wheels, wheel wells, and rocker panels) and any spots (bird droppings, bug splats, and tree sap messes) with Red Thunder or Bug-Off™ Insect Remover before washing. Let the product dwell as directed and rinse.
If you run your fingers over the car and still feel a rough texture on the clear coat, you might consider using a clay bar or clay mitt with a good clay lubricant to decontaminate the painted surface further.
Now, you're ready to start washing.
Wash Horizontal Surfaces
Begin by cleaning your vehicle's horizontal or flat surfaces in straight lines. Start with a left-to-right motion and finish with a front-to-back motion. This will help loosen dirt from multiple directions. Work in small sections (no larger than three square feet) and apply very little pressure to your wash mitt. Rinse your wash mitt often, using your rinse bucket. Never dunk your dirty mitt back into the soap. Also, be sure to rinse the vehicle often, ensuring that you do not allow the soap to dry on the surface.
Wash Vertical Surfaces
Next, move on to the vertical surfaces, working from the top to the bottom of the vehicle. If you come across heavily soiled areas, avoid the urge to apply more pressure. Never "scrub" the surface with your wash mitt. The harder you press, the more likely you are to damage your car's paint job. Instead, re-treat stubborn areas with your pre-wash, all-purpose cleaner, or clay bar and clay lubricant before continuing to wash. For the final rinse, use a heavy spray. Better yet, remove the nozzle entirely and let the water sheet off the surface. Sheeting the water will create fewer water spots and speed up dry and touch-up time.
Unroll and Inspect Your Chamois
Make sure the chamois you use is free of dirt. Wet the chamois, using clean water, and ring out any excess moisture. If you like, you can even use a little spray car wax to add some additional lubrication. Keep the chamois as flat as possible and use broad, sweeping strokes to pull away as much water as possible.
Dry Tight, Hard-to-Reach Areas
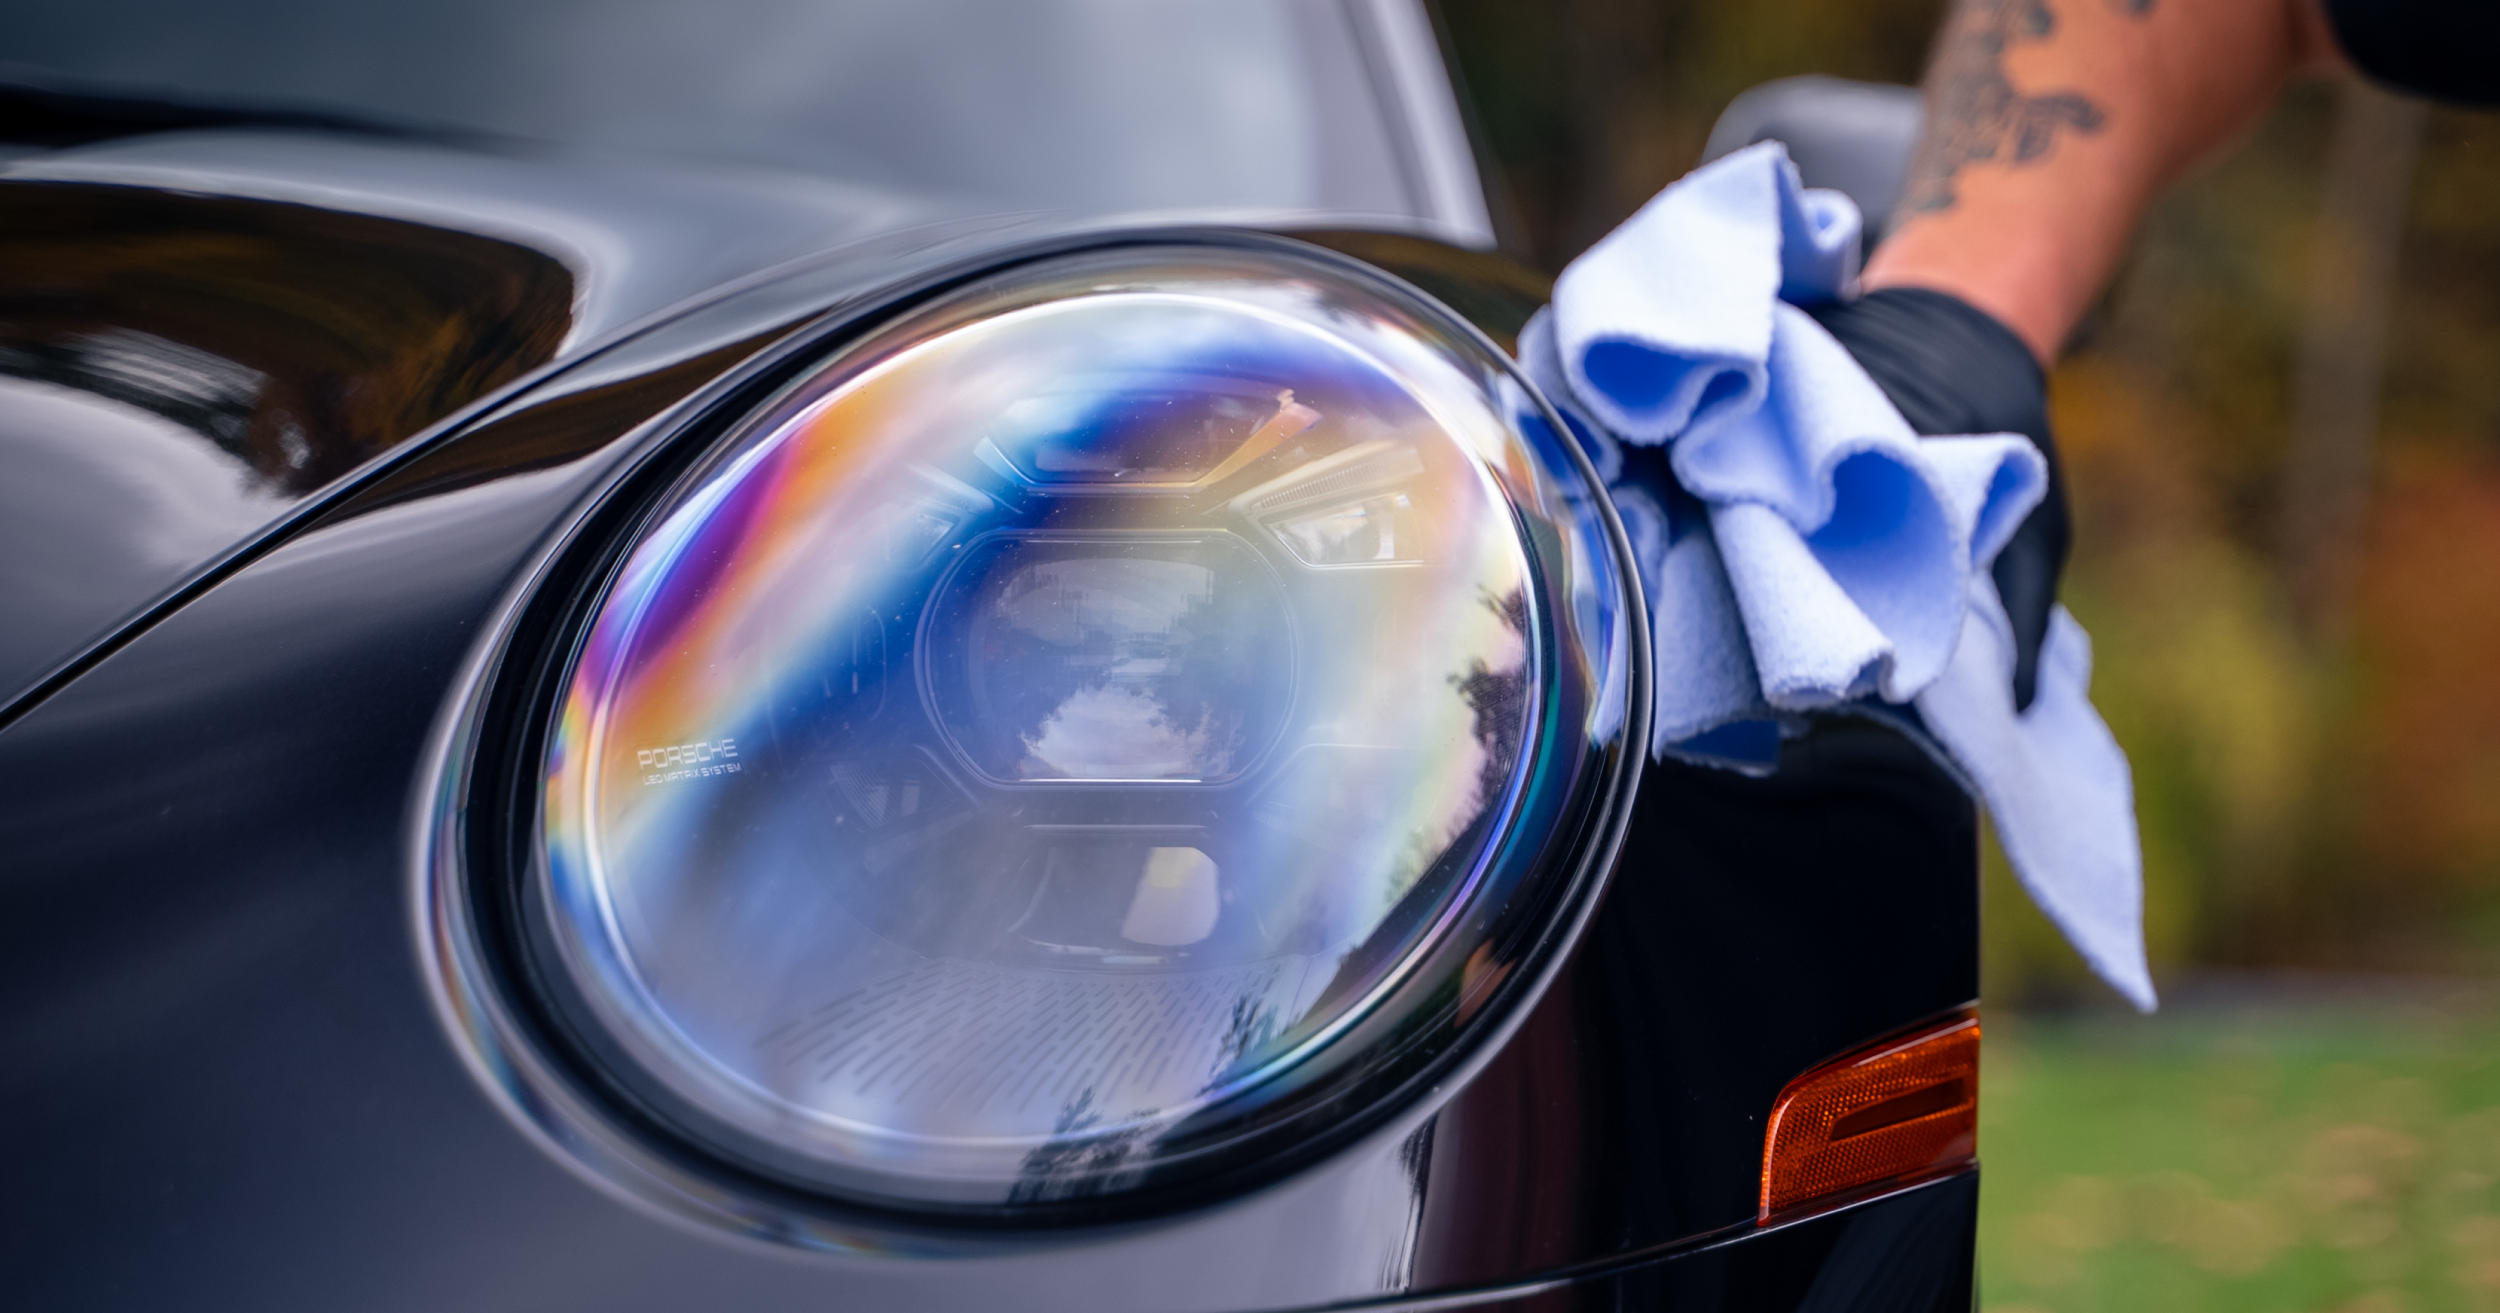
Use a clean microfiber towel to dry the vehicle (remember to remove the tag, as it can also add fine scratches to your paint job). Finish up with your spray car wax and an additional clean microfiber towel to clean up any unwanted streaks or water spots that might occur, as water drips out of seams and body moldings.
Removing Existing Swirl Marks
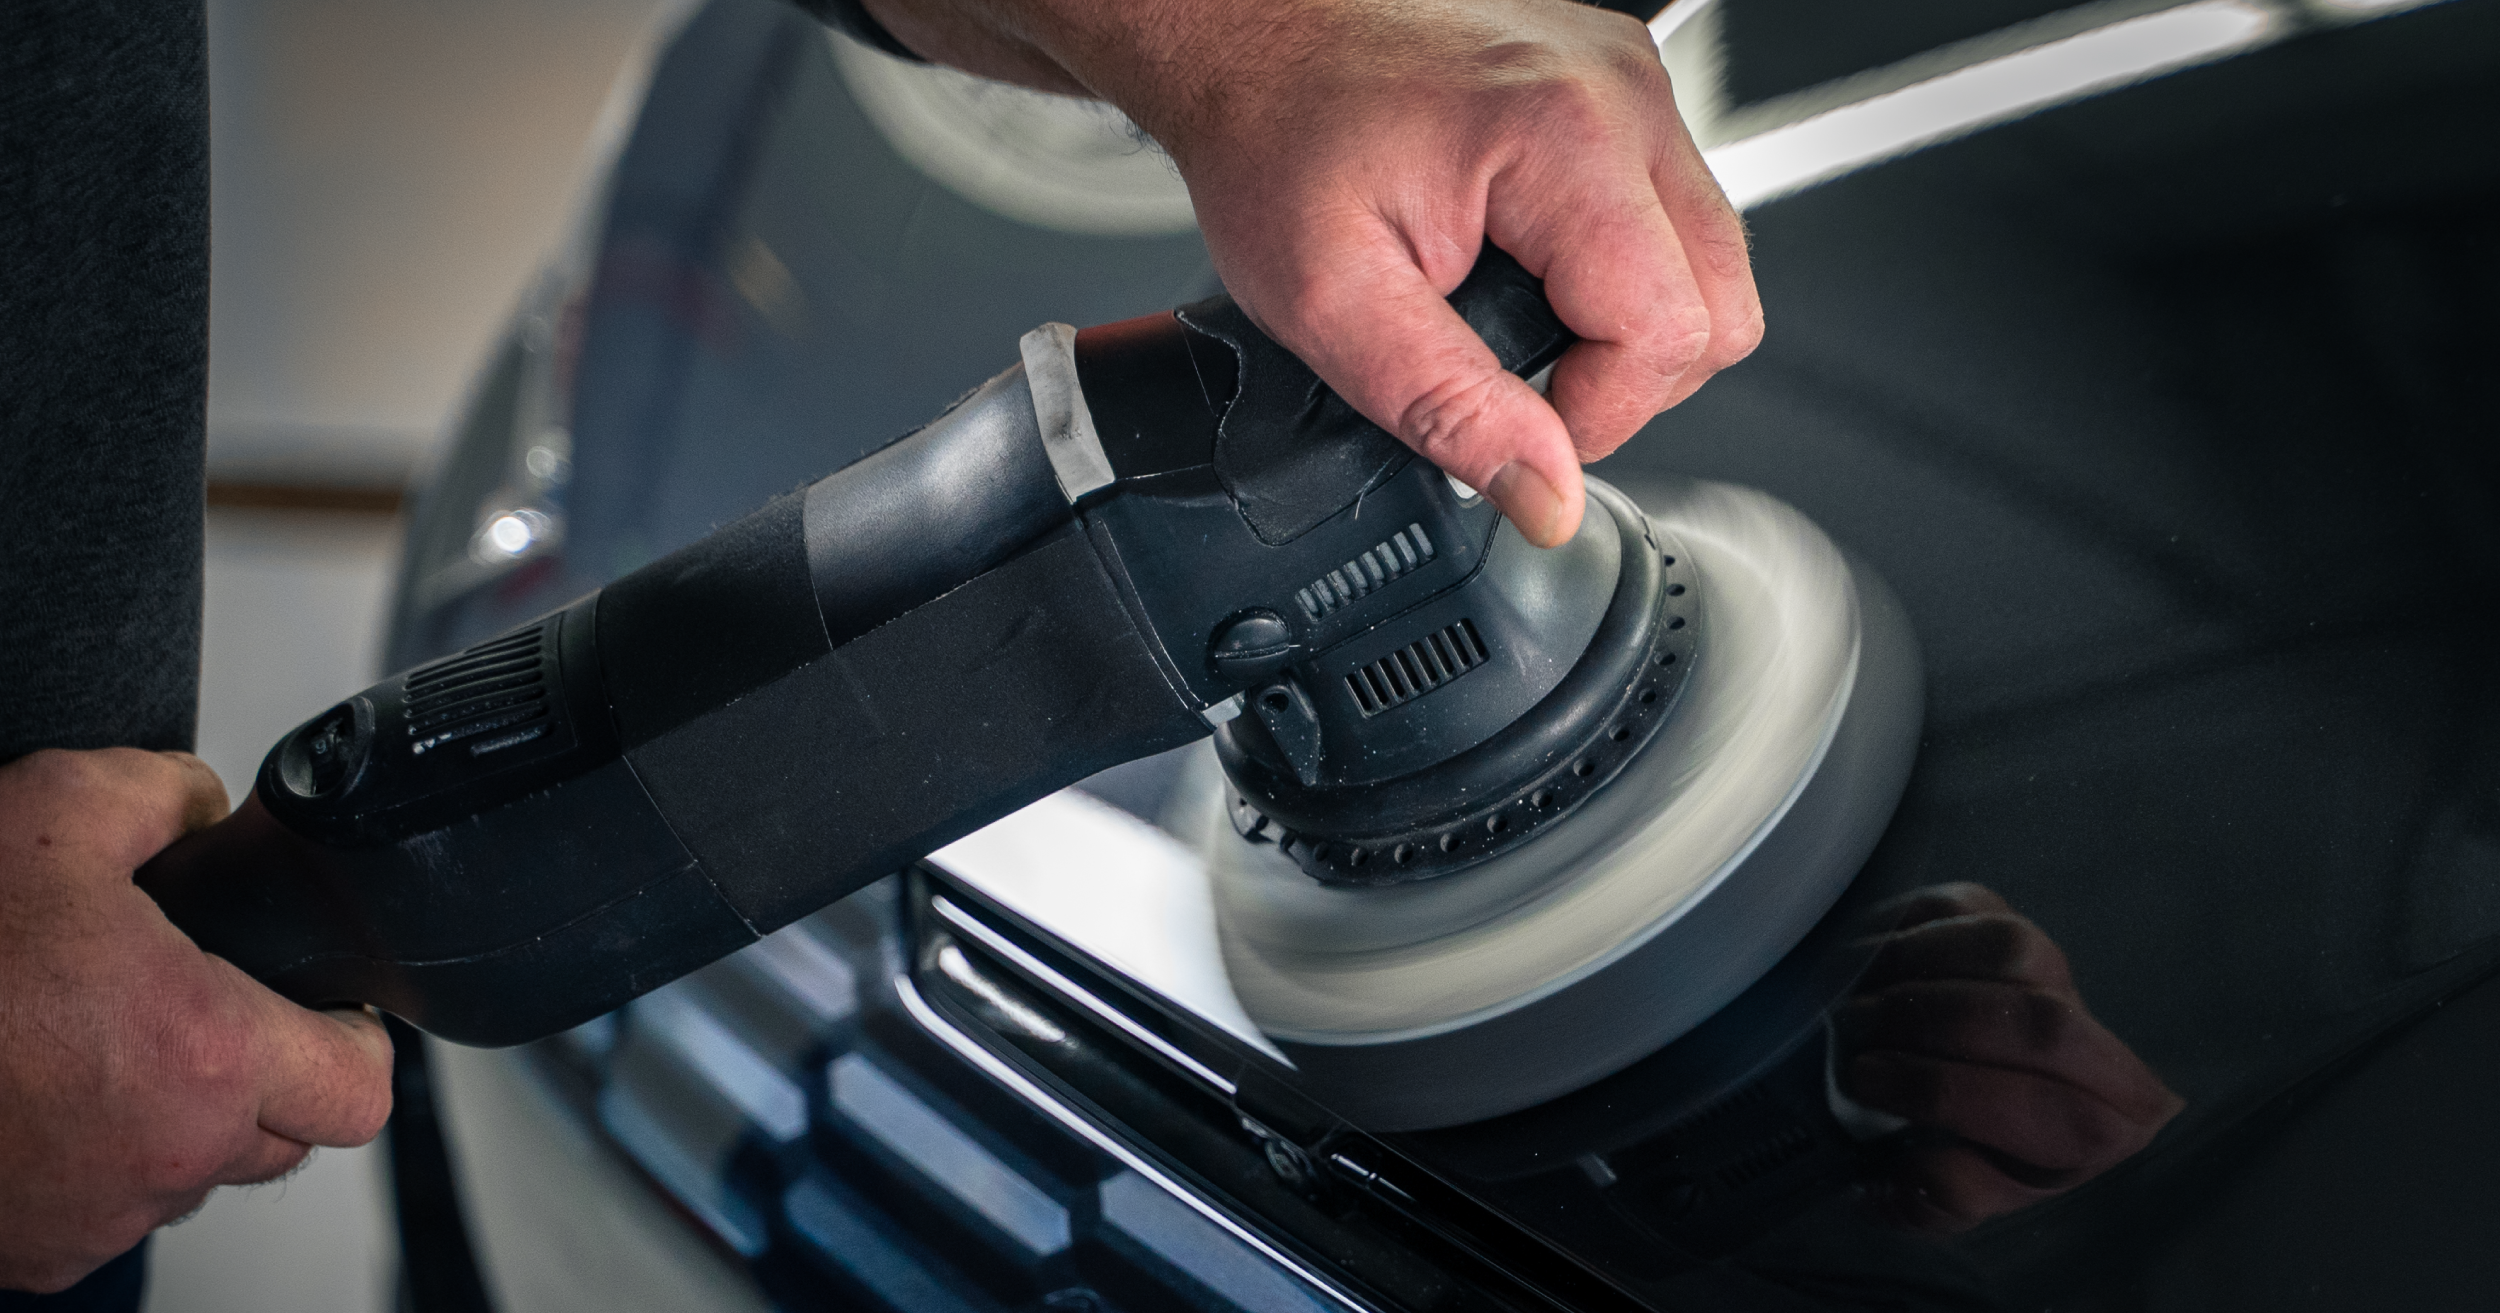
If you have already washed your car (either yourself or in an automated car wash) and need to remove swirl marks that have been added to your car’s paintwork, you will need to pursue paint correction. While paint correction can be a DIY project, it does take skill. You could try hand buffing with a one-step polishing compound, a hand applicator pad, and a clean microfiber towel. This could remove micro-marring and fine scratches. If that doesn't work, the defect will require machine buffing. If you haven’t used a buffer before, we recommend starting with a good orbital buffer, a polishing pad, and finishing polish or swirl remover. We recommend EPIC® Finishing Polish for its compatibility with orbital polishers and its ability to correct most minor flaws. We always recommend starting with the least aggressive buffing option, so you only risk removing the top layer of paint. If the polishing pad and finishing polish don't get the job done, move up to a medium-duty compound like EPIC® Medium Duty Compound and the appropriate buffing pad. For instance, EPIC Medium Duty is designed for use with our EPIC® Orange Foam Medium Duty Buffing Pad. Remember, you can't spot-buff a car, so if you opt for machine polishing, you must buff the entire vehicle to ensure a consistent finish. If you are a beginner in car detailing and have never used a buffer before, we recommend car detailing by a professional detailer.
Key Takeaways: The Right Tools and Techniques are Critical to Avoiding Swirl Marks
Preventing swirl marks is possible. Use the proper tools and techniques to avoid adding swirl marks to your paint when hand washing. If you frequent automated car washes or already have swirl marks that require correction, take the appropriate steps to address those. If you encounter swirl marks on your vehicle and have never used a buffing machine, contact a professional detailer. You have the potential to cause more damage if you don't have the knowledge or skills to use the tool properly. Utilizing these tips properly will help you to eliminate the risk of adding swirl marks to your automotive paint and you should feel empowered to treat existing swirl marks and micro scratches, accordingly.