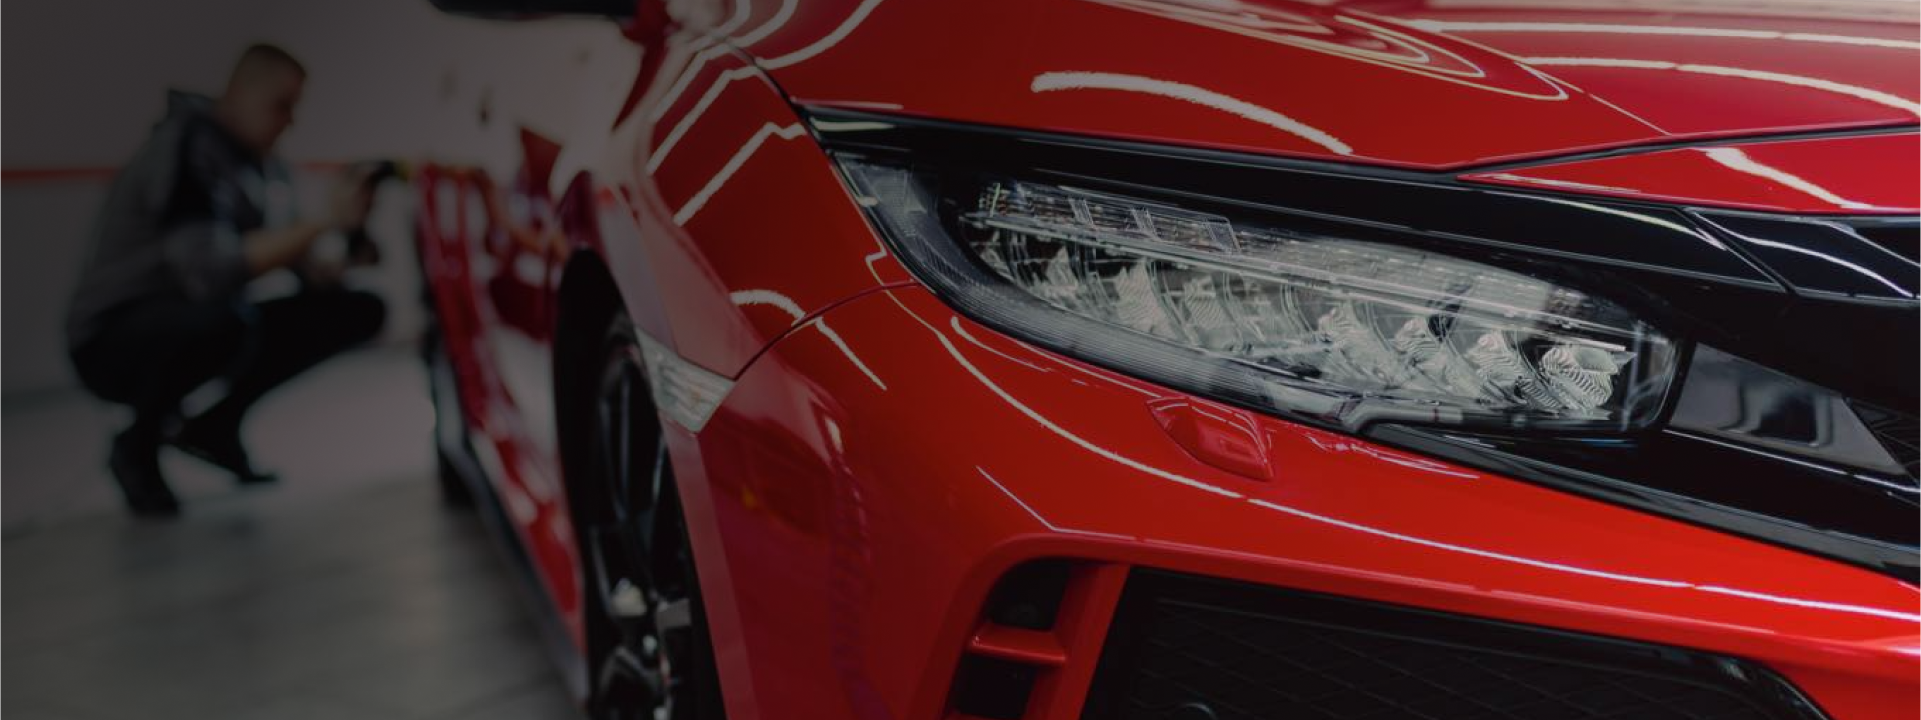
How to Remove Scuff Marks from Your Car: Simple Tips for Removing Paint Scuffs from Your Vehicle
As hard as modern-day clear coat can be, it is still highly prone to scratching and scuffing. Inevitably, every car owner will eventually experience at least a minor scuff. While mostly superficial, scuffs are unsightly and can ruin the overall appearance of a car paint job.
Table of Contents
- What are Scuff Marks?
- What You Need
- Removal Steps
- Key Takeaways
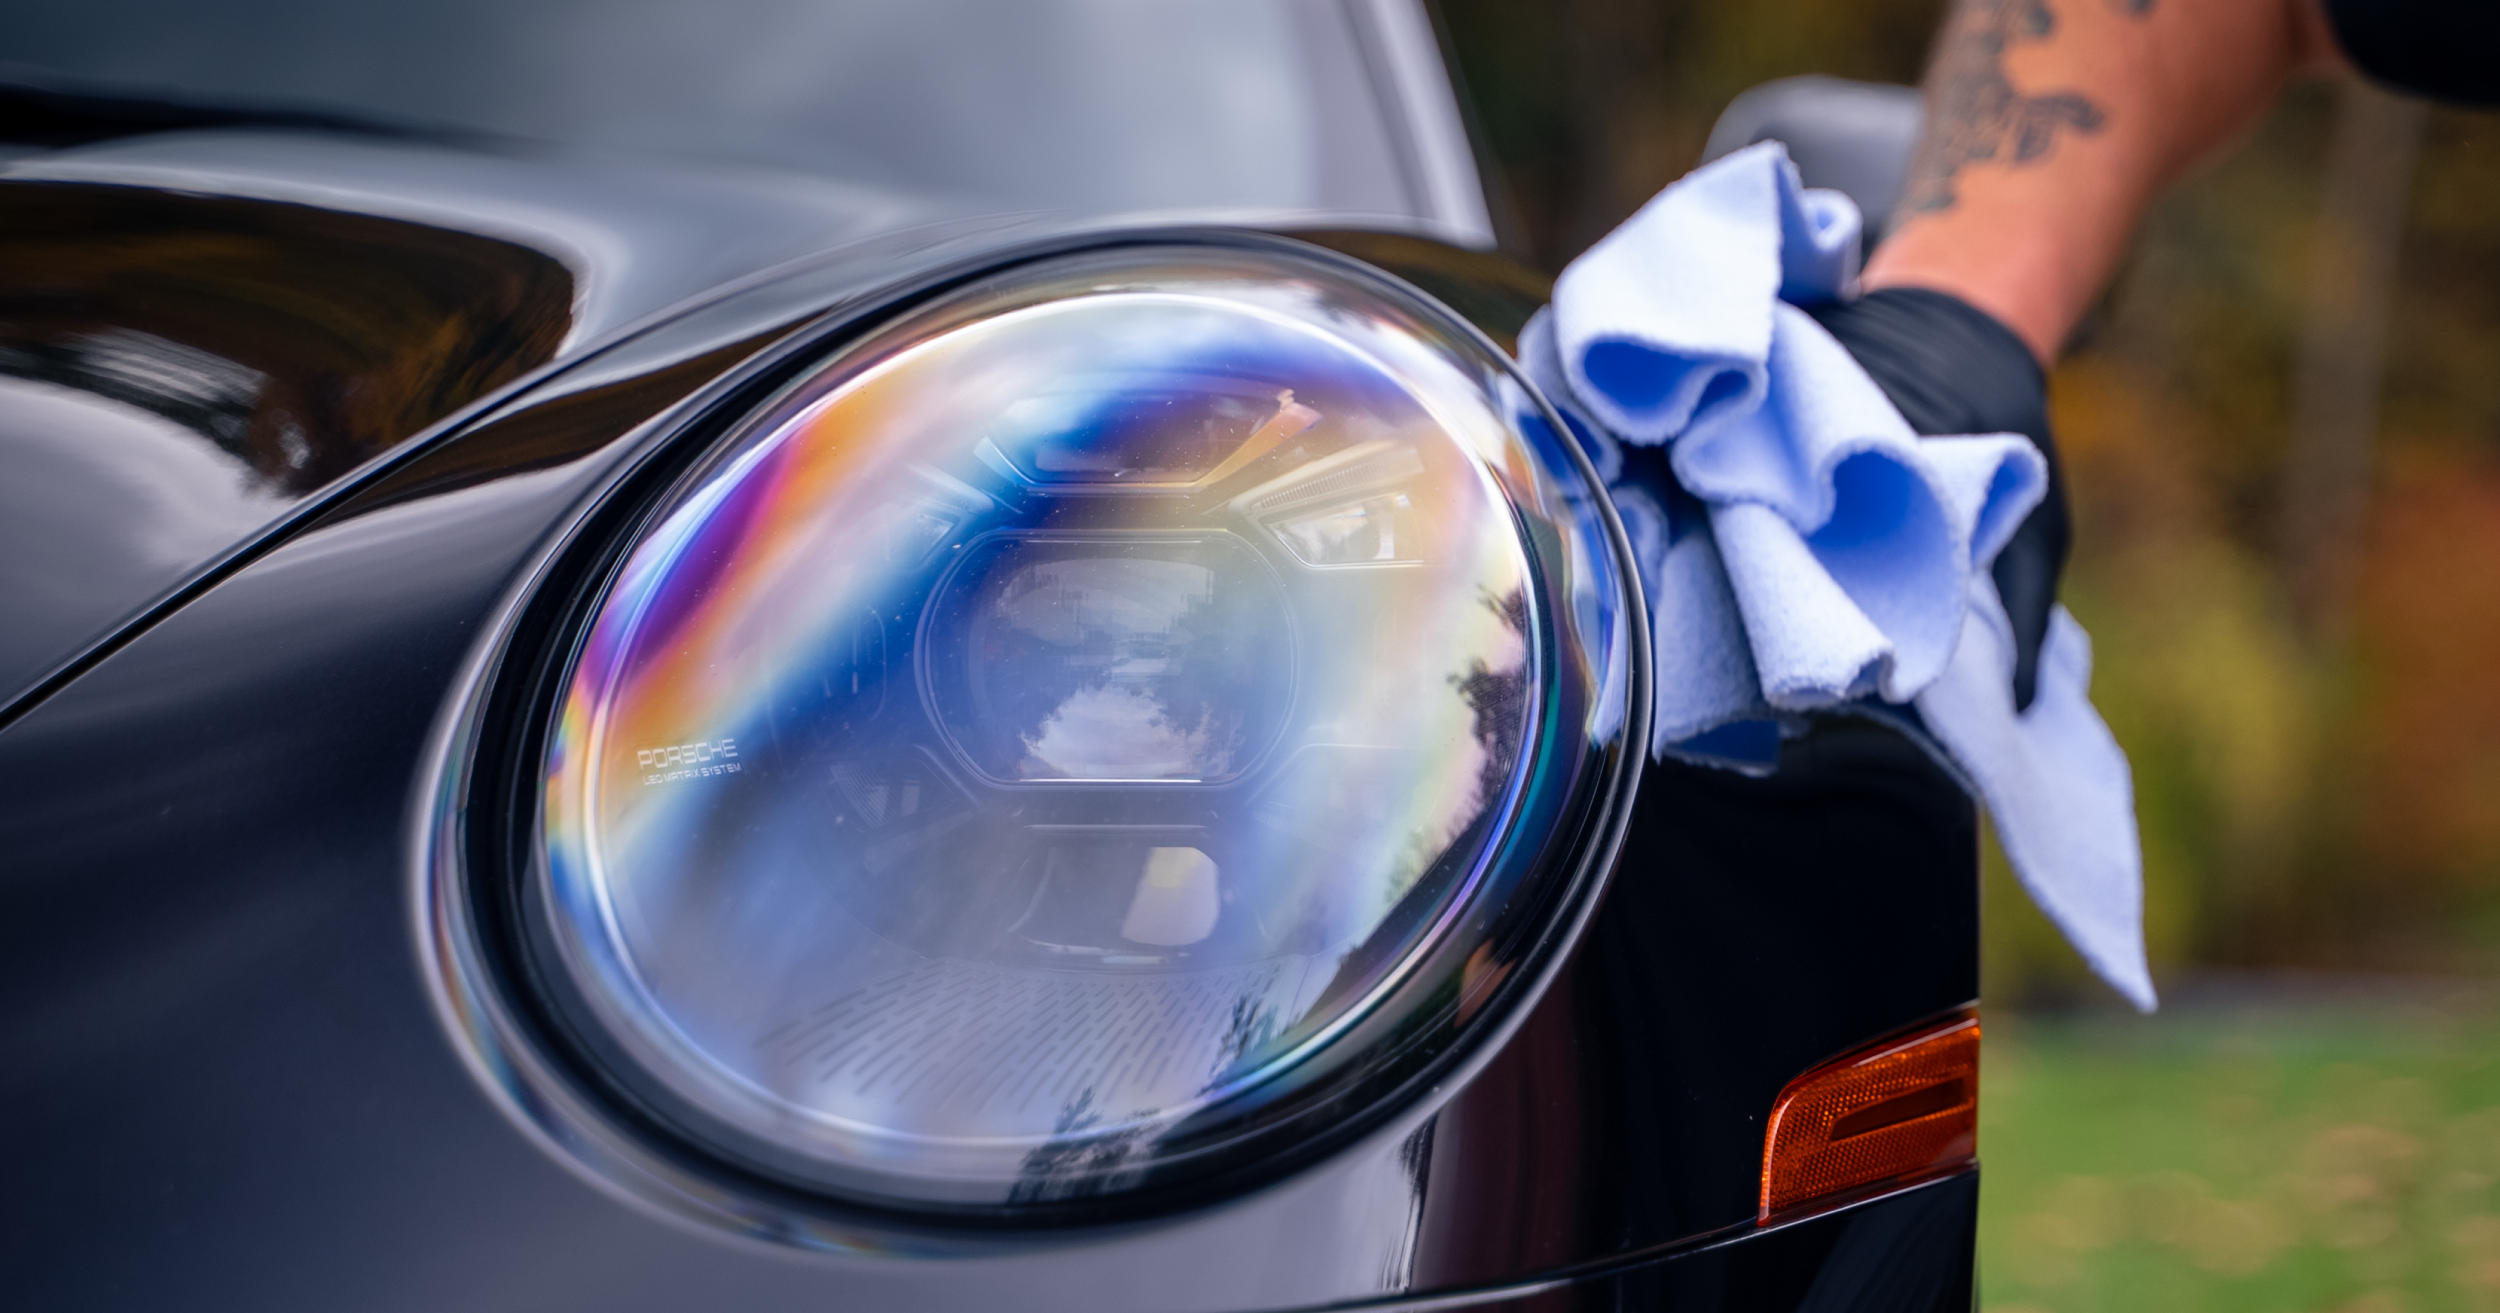
What are Scuff Marks and Paint Transfer on a Car?
Before diving into the removal process, let's understand what scuff marks (also known as paint transfer) are. Unlike deeper scratches, scuff marks are surface-level imperfections caused by contact between the affected area and various objects. They often result from encounters with shoes, other vehicles, or even careless incidents in parking lots.
What is the difference between a scratch and a scuff?
Car scratches and scuffs are both types of abrasions that can occur on the painted surface of a vehicle. Scuffs are less severe and are classified as superficial, as they occur on the surface of the clear coat. Deeper scratches, on the other hand, penetrate the clear coat. How the vehicle comes into contact with an object often dictates the type of damage sustained.
What You Need to Remove Paint Transfer from Your Car
There are a few methods for the removal of paint transfer and scuffs from car paint. Many of these include the use of household products (like toothpaste, magic erasers, baking soda, and acetone) and cleaners that are not made for automotive applications. To avoid damaging your vehicle or compromising the paint, we recommend against this. You should only use equipment and chemicals that are designed for automotive purposes.
What’s the best thing to remove scuffs from a car?
The best car paint scratch remover products are those specifically designed for car and vehicle applications, so scrap the nail polish remover. We recommend using a clay bar (or a synthetic clay alternative, such as a clay polymer wash mitt) in conjunction with a buffing compound to remove scuff marks and paint transfer marks from vehicle paint.
- Gloves
- Clay bar or clay alternative
- Clay lubricant
- Polishing machine
- Heavy-duty buffing compound
- Heavy-duty buffing pad
- Microfiber towels
- Water bucket & hose
- Touch-up paint
Steps for How to Remove Paint Scuffs and Transfer from Your Car Without Damaging It
Now that you’ve gathered all your supplies, you can prepare your vehicle to remove those nasty scuffs. Follow these steps for a scuff-free finish.
Do scuff marks come off a car?
Scuffs can be removed by most DIY-ers. Since the damage from a scuff only exists on top of the clear coat, it is not very difficult to fix. However, for deeper scratches, we recommend seeking professional detailing or body shop services.
How do you fix paint transfer or get surface scuff marks off a car without damaging it?
As mentioned, a few considerations will help you remove scuff marks without causing any additional damage to your car paint. Those include using the appropriate products and supplies to address the issue and confirming that the damage is minor enough for you to take it on by yourself. Then, follow these steps to restore your finish:
- Gather Your Supplies: Reference the checklist above for all that you will need to rid your vehicle surface of scuff marks. Be sure to consider all product instructions and gather all related personal protective equipment (PPE) necessary for application. It is also essential to keep several clean cloths on hand that are free of dirt, dust, or old cleaning and detailing chemicals.
- Prepare Your Work Area: Work in a garage or shaded area to prevent your clay lubricant and buffing compound from drying too quickly, during application. Ensure the car's surface is clean and free from dirt or debris by giving it a quick rinse.
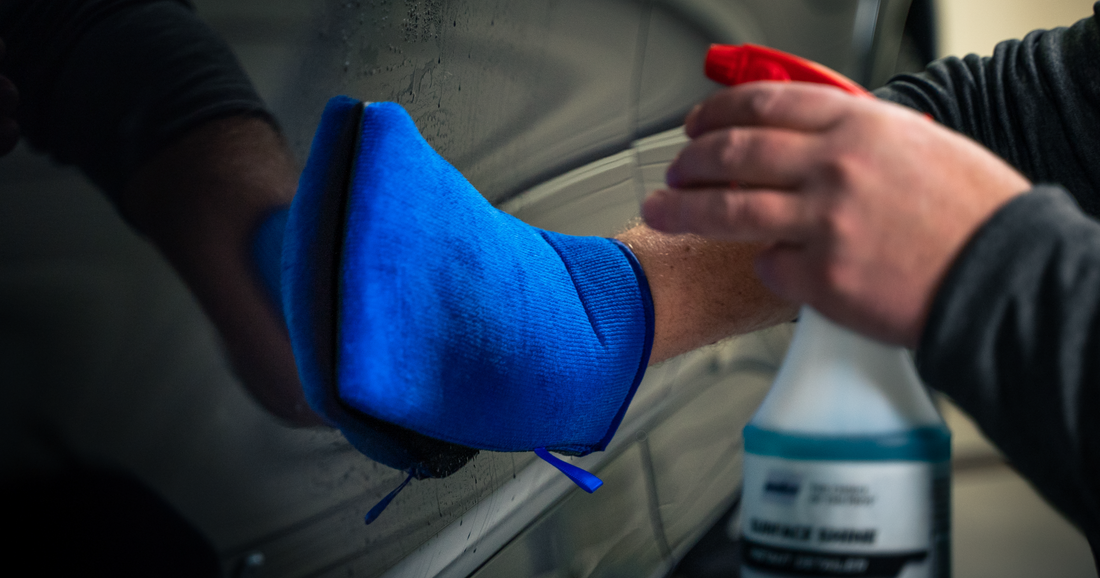
- Clay Away Stubborn Contaminants: Spray the work area with a clay lubricant, like Showroom Shine™️ Spray Wax. Glide your clay (or clay alternative), back and forth, over the lubricated surface. Apply light pressure to avoid working any existing contamination into the paint that could cause scratches. When all contamination has been removed as much as possible with the clay, wipe down the area with a clean microfiber cloth to remove any remaining lubricant.
- Traditional Clay Bar: Break off a small chunk of your clay bar and knead it until it becomes pliable. As you work, knead and fold the clay to expose clean, contamination-free areas of the bar. If a clay bar is dropped, swift replacement is necessary to avoid potential damage from gathered dirt and dust. Stop using the bar if or when you can no longer expose clean clay through folding and kneading.
- Synthetic Clay Alternative: Synthetic clay mitts present a lower risk of contamination reintroduction. While slightly less aggressive, these mitts can be rinsed off if dropped and boast an extended lifespan. No need to fold or knead. If your clay mitt picks up a lot of contamination, simply rinse it off to continue using. Clay mitts can be reused many times over again.
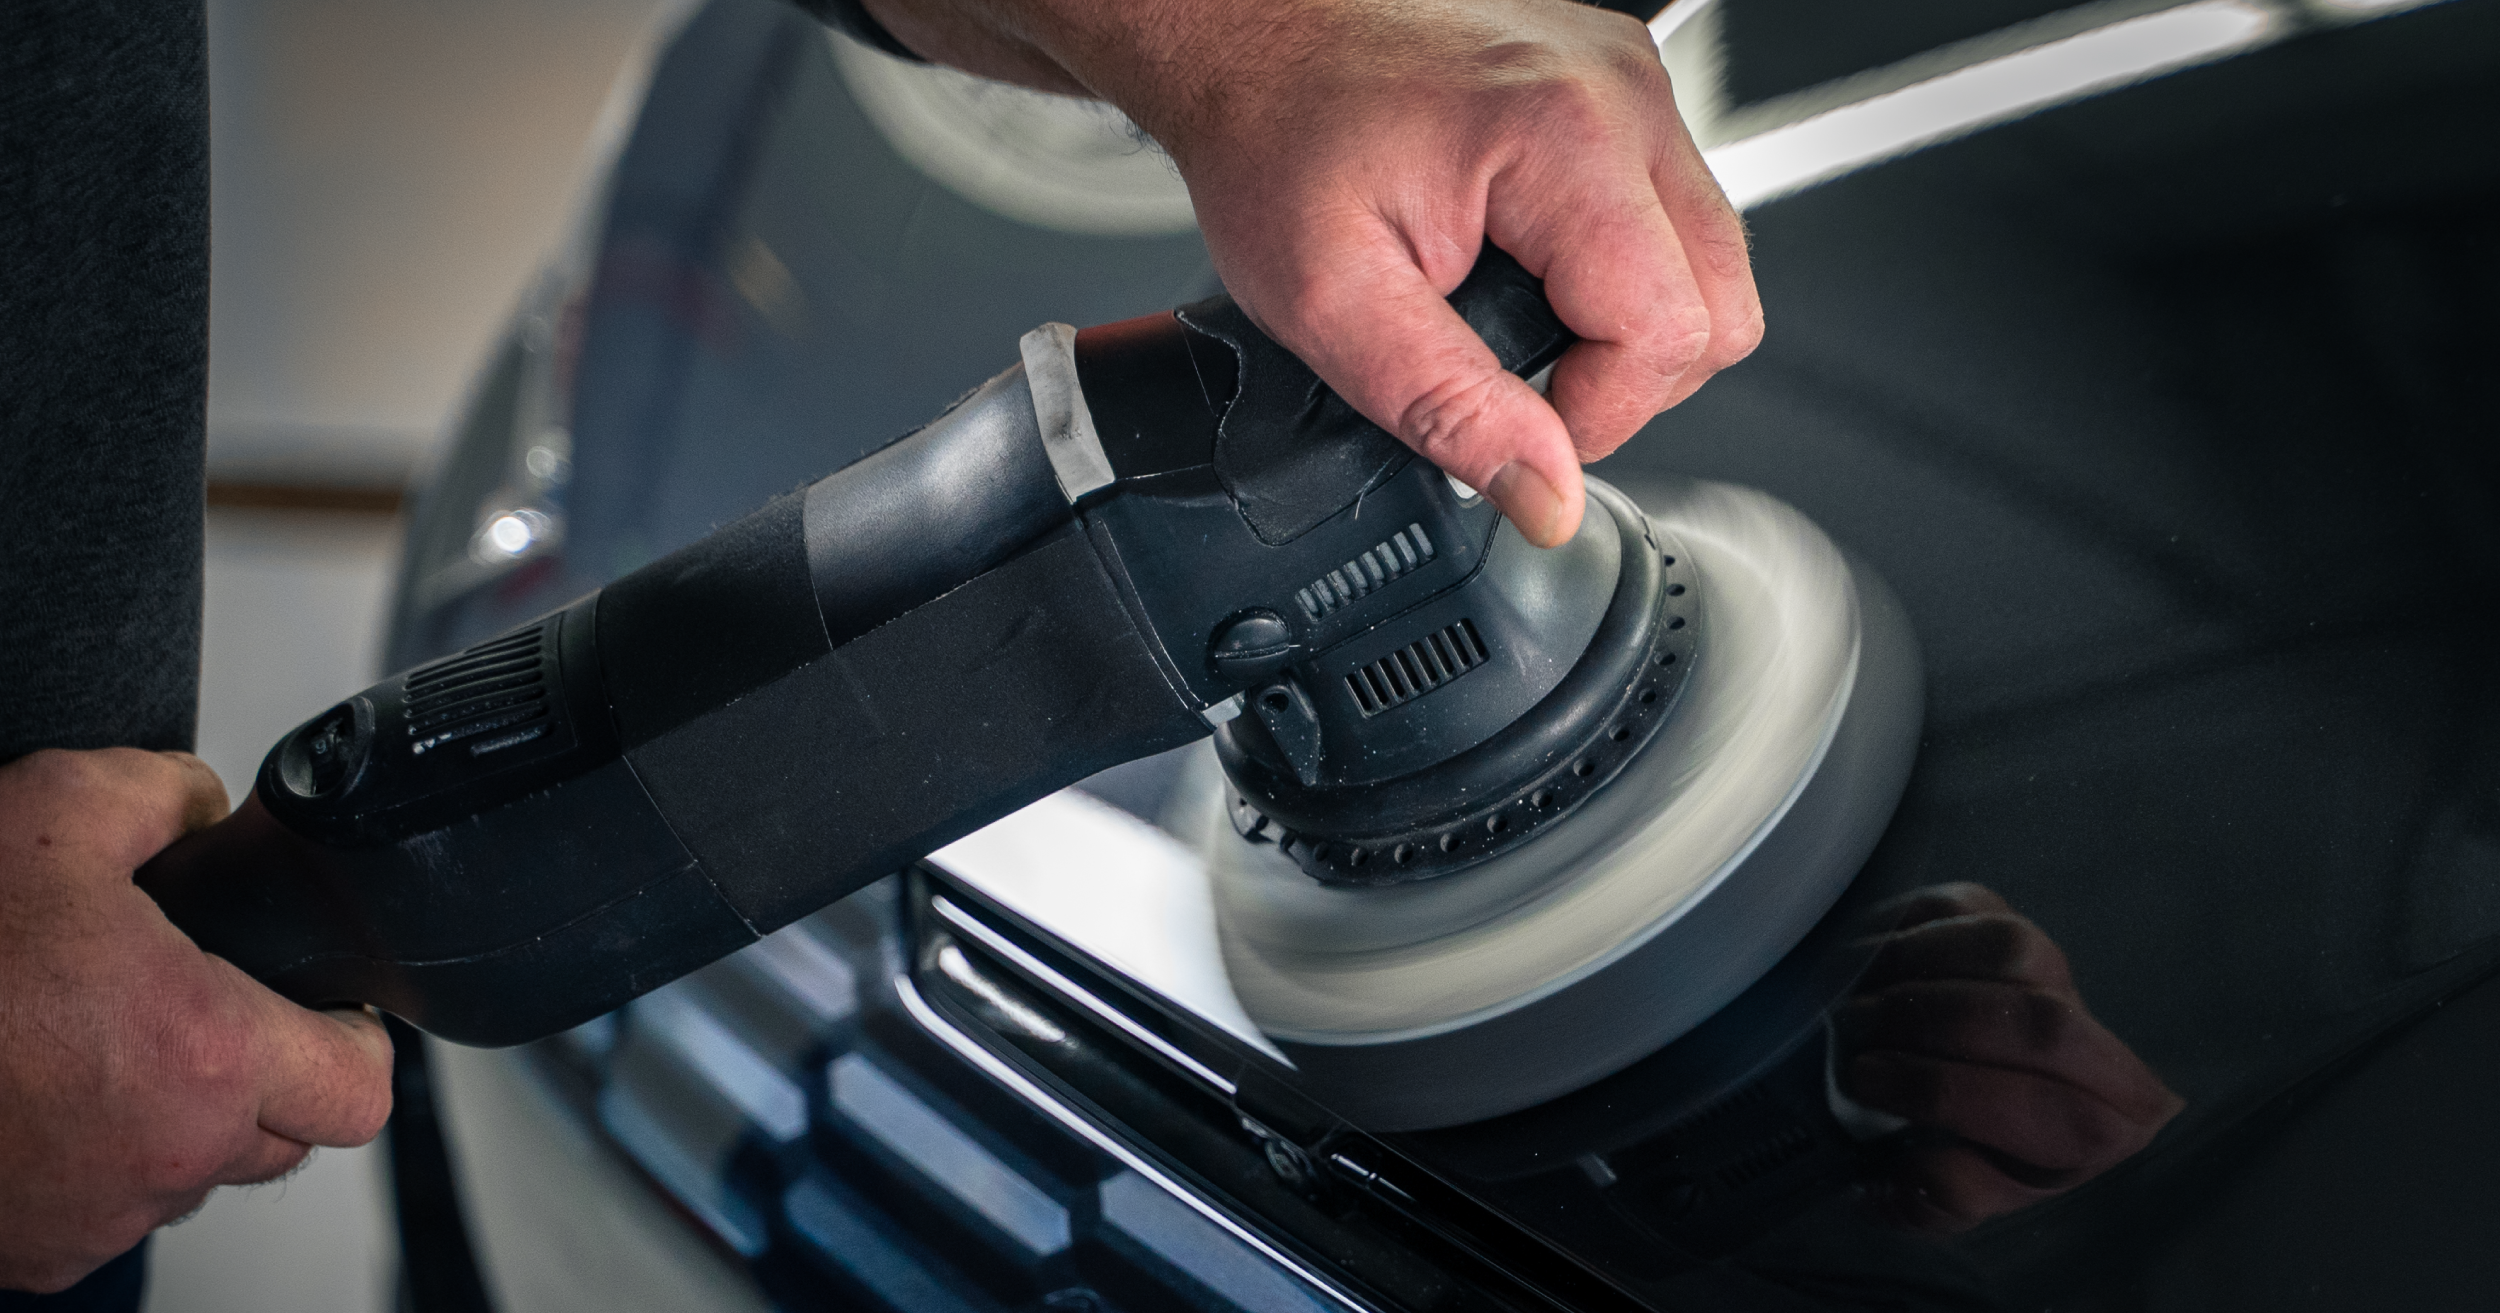
- Buff Away Remaining Scuffs: Once you’ve exhausted your clay, move on to buffing. Choose a heavy-duty buffing compound that is free of fillers, so you can see the true results of your work. We like EPIC®️ Heavy Duty Compound because it is formulated with diminishing abrasives that polish to a beautiful gloss in just one step.
- Shake your compound well.
- Apply four 1/4” drops of your chosen compound to your buffing pad. Use the appropriate buffing pad size. For instance, if you are working in a small area, opt for the 3” variation of your pad.
- Spread the compound across the work area in gentle, even passes with a polishing machine, using the lowest speed setting available. Once, the area has been covered, turn up the speed setting to the highest available and work in the compound with light to medium pressure. Periodically check your progress to see how the scuff marks are fading. Patience is key during this step, as a slow and steady approach is more efficient. When the compound turns from opaque to clear, the abrasives have broken down and you can stop buffing.
- Wipe the surface clean with a clean microfiber towel.
- Repeat if necessary.
- Inspect Your Work: Once you're satisfied with the results, perform a final inspection. Make sure all scuff marks are adequately removed, leaving behind a smooth and damage-free finish. If you’d like, you can now apply a car polish, like EPIC®️ Finishing Polish, or car wax for protection and to add even more depth to your glossy finish.
Can you paint over scuff marks on a car?
You can use touch-up paint on any small areas with scuffs that you cannot buff out. For large or deep scratches, seeking professional assessment and repairs is recommended to ensure a flawless finish.
Key Takeaways: Scuff Marks Can be Removed Without Causing Damage to Car Paint
Removing scuff marks from your car's paint doesn't have to be a daunting task. By following these automotive detailing steps for scuff mark removal and exercising a bit of caution, you can restore your vehicle's appearance without causing any additional harm. Take pride in your ride and enjoy the road ahead with a scuff-free finish.